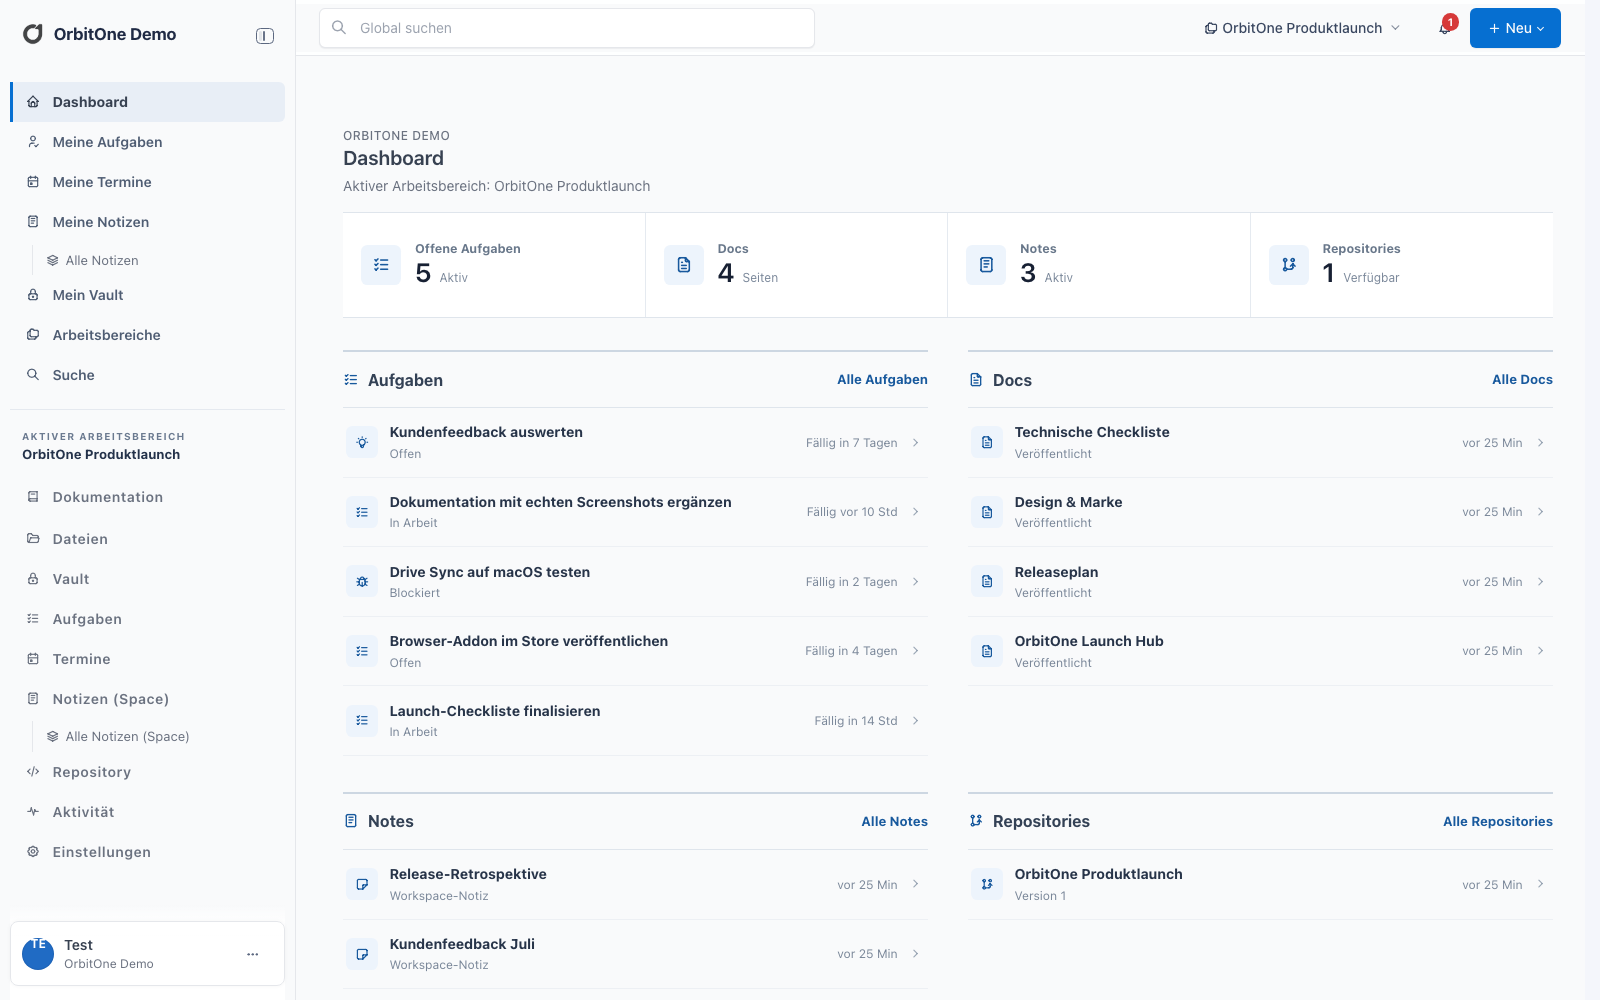
OrbitOne separates personal content from collaboration in workspaces. This means that private notes, appointments and access remain private, while team content is clearly assigned to a workspace.
Personal
Only visible to you. These include, among others, “My Tasks”, “My Notes”, “My Appointments” and “My Vault”.
Workspace
Shared workspace with its own rights and activated modules for Docs, Notes, files, tasks, appointments, vault and repositories.
A typical connected flow
1
Retain knowledge
A grade contains meeting results and a checklist.
2
derive work
A checklist item is linked to a task and assigned to a person.
3
Schedule time
The due date appears on the calendar; Files and docs are directly linked to the task.
4
Synchronize completion
When the task is completed, OrbitOne also updates the linked checklist.
Next
Set up your access
Open the client, check the profile and get to know the first workspace.
Set up your OrbitOne access and find your way around your tenant and the first workspaces.
1. Log in and open your client
Open your company's address, for example https://firma.orbitone.pro. After logging in, OrbitOne loads the most recently used tenant and workspace.
Multiple clients
If you belong to multiple organizations, you can change the active client via your profile menu.
2. Complete profile
Open profile menu. Click on your name at the bottom left.
Check personal information. Enter your name, language and, if necessary, a profile picture.
Choose notifications. Activate targeted browser, drive or email notifications.
Increase security. Use MFA or a passkey if offered.
You only need personal access tokens for connected clients like the Vault Browser add-on. Treat it like a password.
3. Select workspace
Under Work areas you can see all the workspaces you have access to. After selection, the navigation of this workspace appears on the left with the activated modules.
You want...
Go to...
create a personal note
My notes
Document knowledge for a team
Workspace → Documentation or Notes
manage your own task
My tasks
create a team task
Workspace → Tasks
save a private account
My Vault
4. Create your first content
Open the desired module and click New or the blue plus button. If a feature is missing, the module may not have been activated for the workspace or you may not have write permission.
The sidebar connects your personal spaces to the currently open workspace.
Personal areas
At the top of the navigation you will find content that belongs to your user account. These views can also bring together entries from your workspaces, such as assigned tasks or displayed workspace calendars.
Dashboard: compact overview of current work.
My tasks: assigned and personal tasks.
My appointments: personal calendar with optional workspace calendars.
My Notes and My Vault: private content.
Active workspace
Only the modules that are activated there and that you are allowed to access are displayed under the name of the active workspace. A workspace change completely changes this area of navigation.
Three-dot menus and UIDs
Actions that are needed less often are behind the three-point menu. Depending on the entry, you will find, among other things, deletion, moving, linking and the technical UID. The UID is particularly useful for support cases or external integrations.
Back and Deep Links
OrbitOne updates the browser history when changing pages internally. You can therefore use the browser's back button and share links to tasks, notes, docs or other entries directly, provided the person receiving them has the necessary rights.
Collaboration
Workspaces & rights
Workspaces bundle content, people and settings for a team, project or customer.
When a workspace makes sense
Create your own workspace if content requires a common authorization limit, its own task processes or a separate file and knowledge base. Typical examples are departments, customer projects, products or internal services.
Activate modules
Workspace administrators can control which spaces are available in Settings. This includes documentation, files, vault, tasks, appointments, notes, repositories and individually configured areas.
A module is missing?
A hidden navigation point usually means that the module is deactivated or your role does not have access.
Permission model
stage
Typical options
Read
Open content and see linked information.
Write
Create and edit entries, assign tasks and write comments.
Owner
Manage workspace content, members, and selected settings.
Admin
Configure modules, email connection, task parameters, authorizations and backups.
Rights may also be restricted per module. Write permissions in Docs do not automatically mean write permissions in the Vault.
Connect content
Many OrbitOne entries can be linked to one another. For example, in a task you can reference a note, a doc, a file, a repo commit or an appointment. The link does not assume any rights: users only see the target if they are allowed to access it.
Collaboration
Docs & Notes
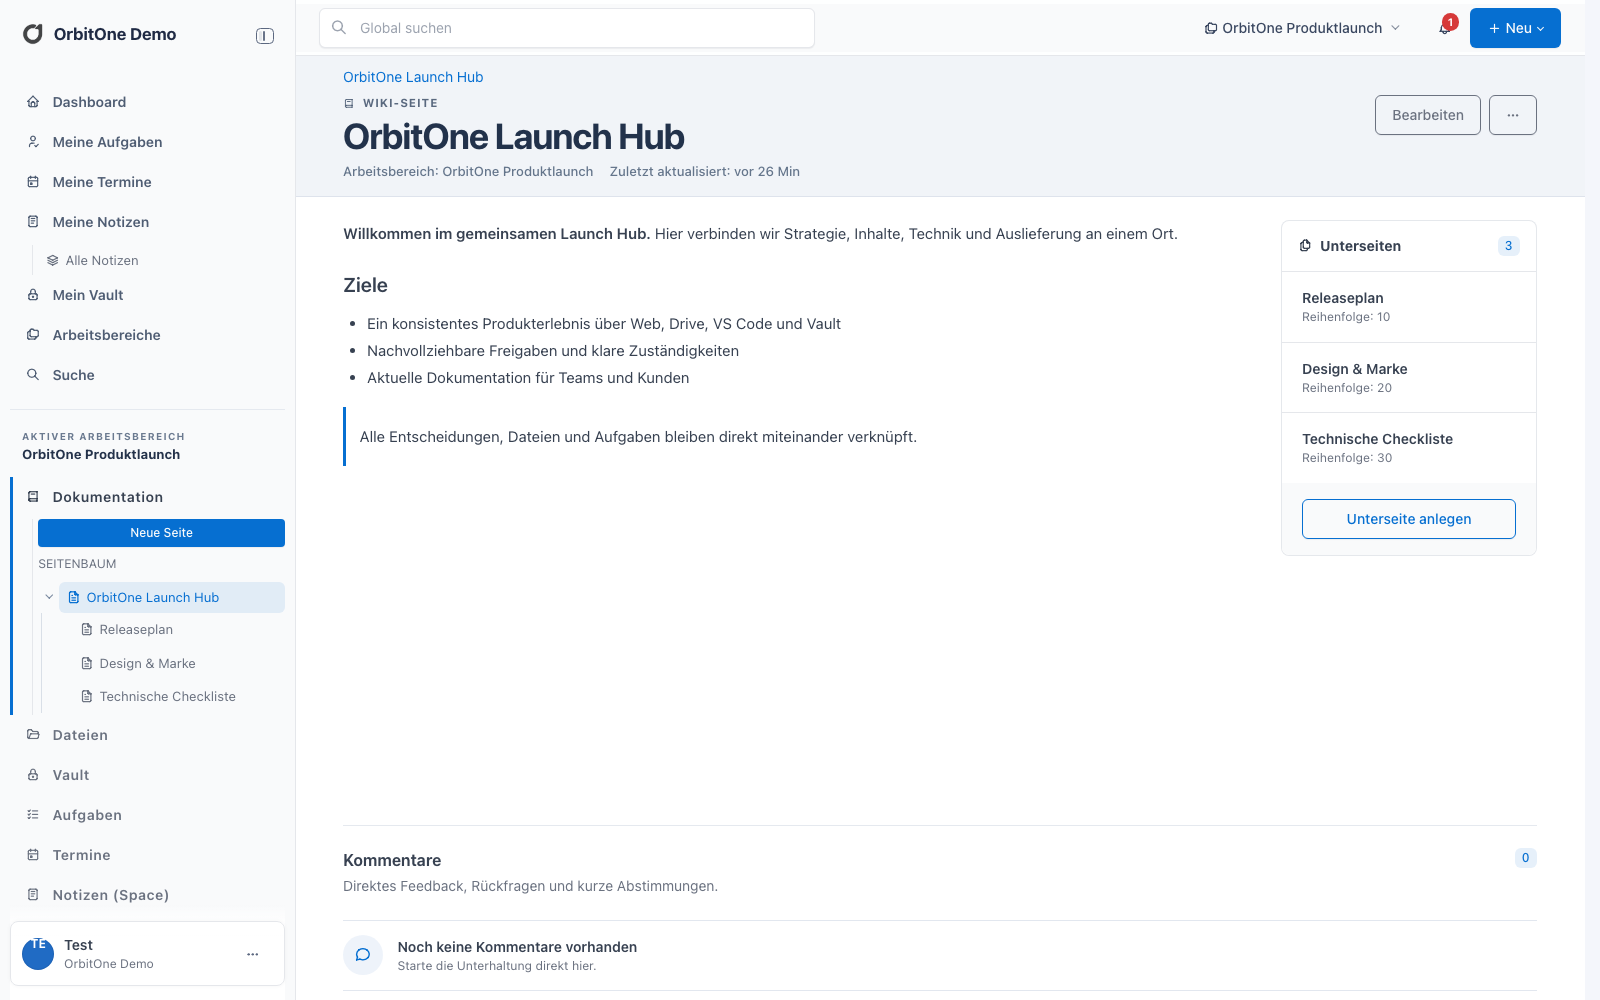
Docs structure permanent knowledge. Notes quickly record ideas, observations and work statuses.
Docs or Notes?
Docs
Notes
Suitable for
Manuals, concepts, processes
Discussions, ideas, observations
Structure
Page tree with subpages
Folders, lists and quick navigation
Task related
Link to tasks
Interactive checklists with task synchronization
Visibility
Workspace
Personal or Workspace
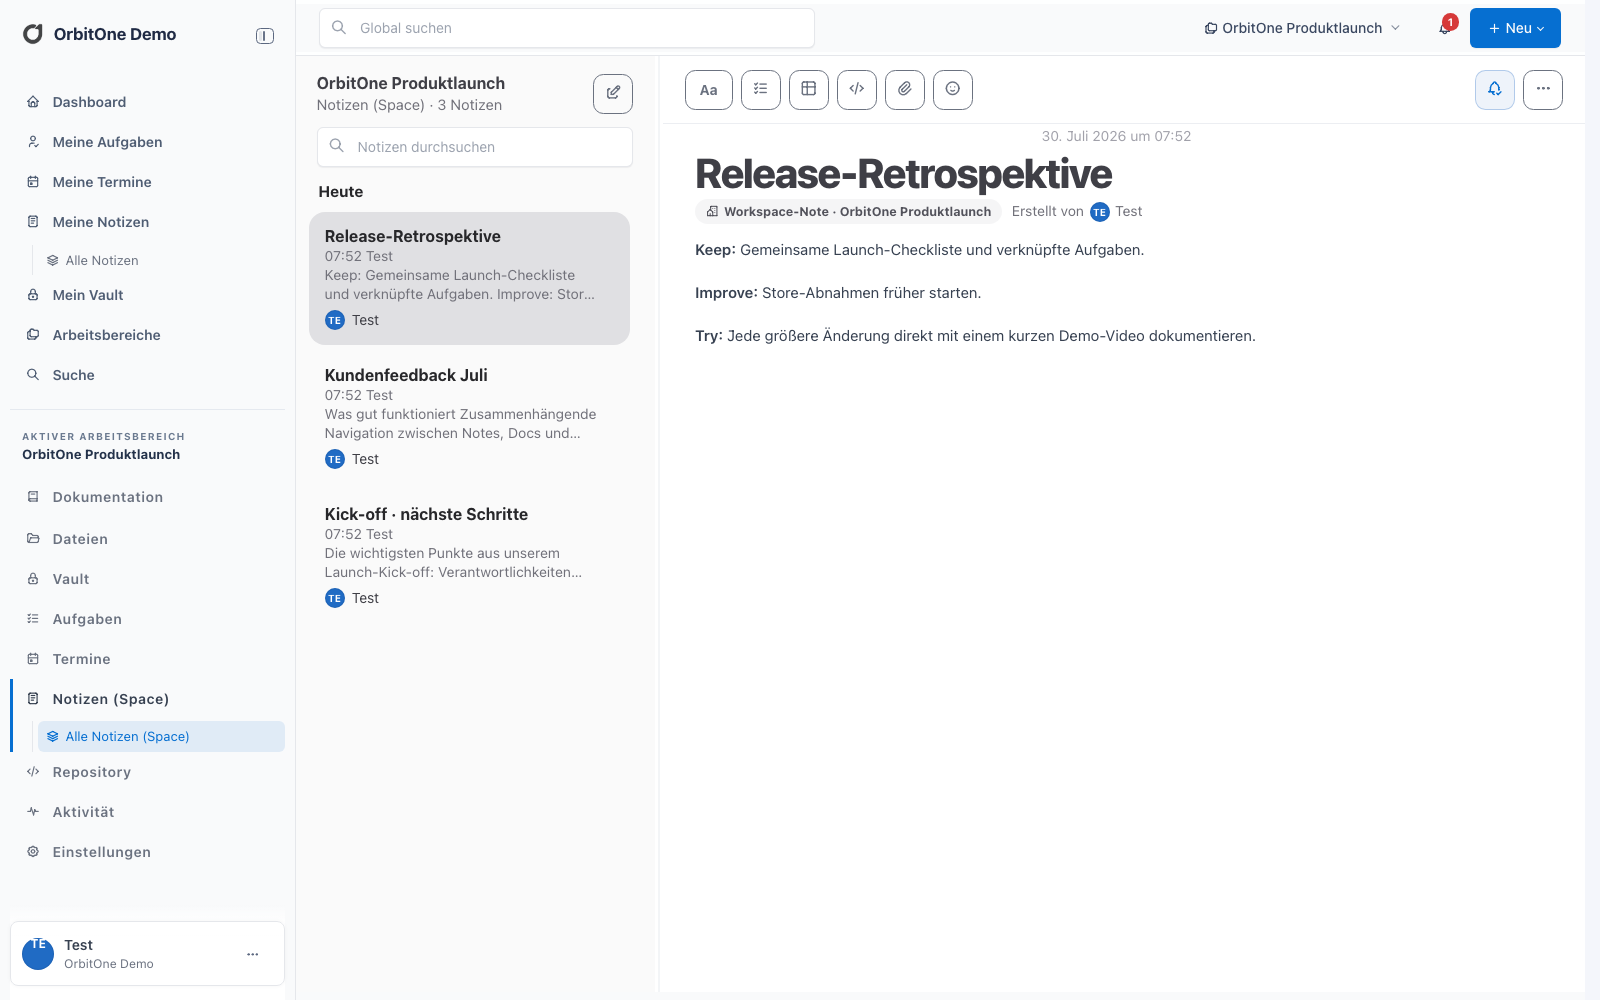
Docs organize persistent knowledge in a page tree.Notes record quick work statuses and mark their workspace context.
Edit rich text
The shared editor supports text formatting, links, tables, code blocks, checklists, emojis, mentions, images and file attachments. Blocks can be rearranged using their handles.
Insert screenshots directly
Copy a screenshot to the clipboard and paste it Strg + V respectively ⌘ + V into the editor. OrbitOne loads the file and inserts it at the cursor position.
Code blocks
For multi-line source code, use a block of code instead of individual inline code elements. Line breaks and indentations are retained as a continuous block.
Type @ and start with a person's name. Select the appropriate match from the autocomplete. Mentioned people can be notified depending on their personal settings.
Connect checklists to tasks
Create a checklist entry in a workspace note.
Mention with @Name the responsible person or use the task action on the entry.
OrbitOne creates or links the task; the task link remains outside the editable text.
Checking off the task and checklist is synchronized in both directions.
Watch note
Activate Watchif you would like to be informed about relevant changes to a grade. Workspace notes are marked as such in the header area so that they are not confused with private notes.
Collaboration
Tasks & Tickets
From personal tasks to email ticket systems: tasks reflect work, responsibility and communication.
Create task
Open My tasks or the task module of a workspace.
Click on task or the plus symbol.
Assign title, type, status, priority, assignment and, if necessary, a due date.
Add a rich text description, files, screenshots and links.
Save the task. The detailed view opens without the task list next to it.
List, board and status
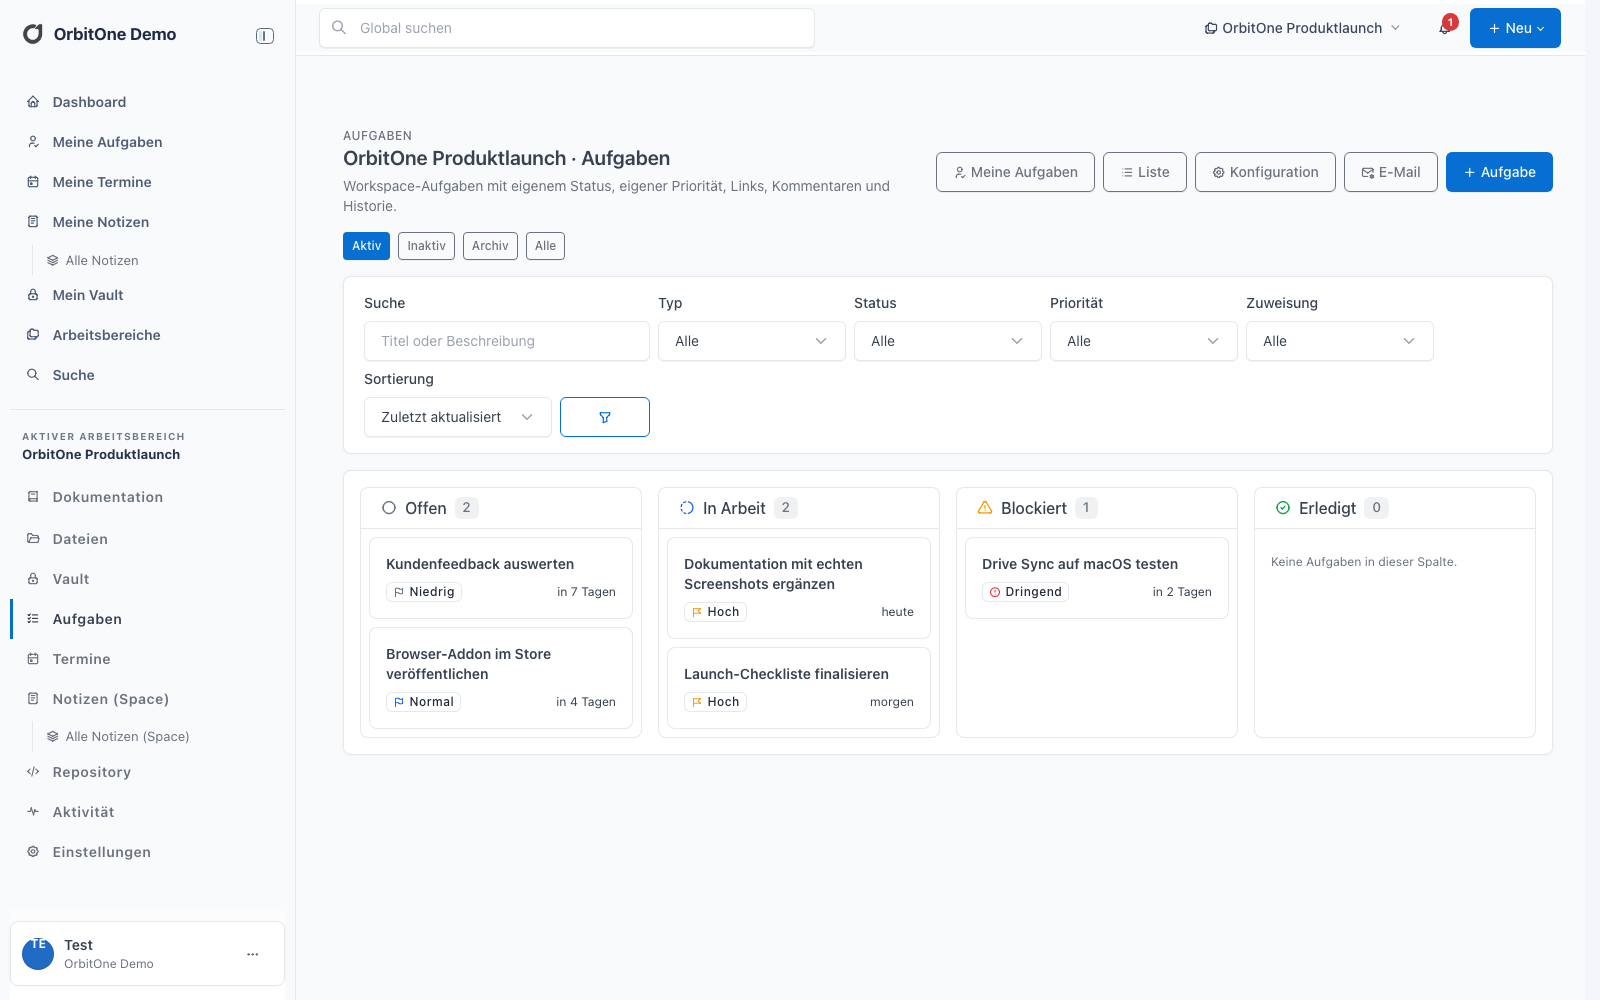
You can sort in the list; OrbitOne remembers the last sorting per user. The board view allows tasks to be moved between appropriate status columns.
Workspace administrators define which status values as active apply. Completed or otherwise inactive tasks can still be found using the corresponding filter view. Priorities can also have a row background color.
The board view groups active tasks by status and allows moving between columns.
Process multiple tasks
Mark tasks using the selection fields. You can then change the status, move tasks to a different target area or delete multiple entries. OrbitOne only shows actions for which you have the necessary rights.
Comments, internal notes and attachments
Comments are created in their own dialog and support rich text, screenshots and files. In email tickets you can also choose whether a post is sent as a reply or just saved as an internal note in the task.
Workspace as a ticket system
Workspace administrators can convert incoming messages into tasks. The generated OrbitOne address and, depending on the configuration, IMAP, POP3 or Exchange Online are available for this. Sending can take place via SMTP or Exchange Online.
Open Workspace → Settings → Email.
Choose the retrieval method and only enter the access data displayed.
Specify the sender, shipping method and optional header and footer.
Test retrieval and dispatch before enabling processing.
Protect generated address
The long workspace address is intended for automatic entry. If it is used undesirably, an administrator can regenerate it at the push of a button.
Assignments and Rights
Users with write permissions in the Tasks module can assign tasks to authorized workspace members. If saving seems to have no results, first check the module rights and whether mandatory fields from the workspace configuration are fulfilled.
Collaboration
Files in the workspace
Central file storage with folders, versions and links to other OrbitOne content.
Use file browser
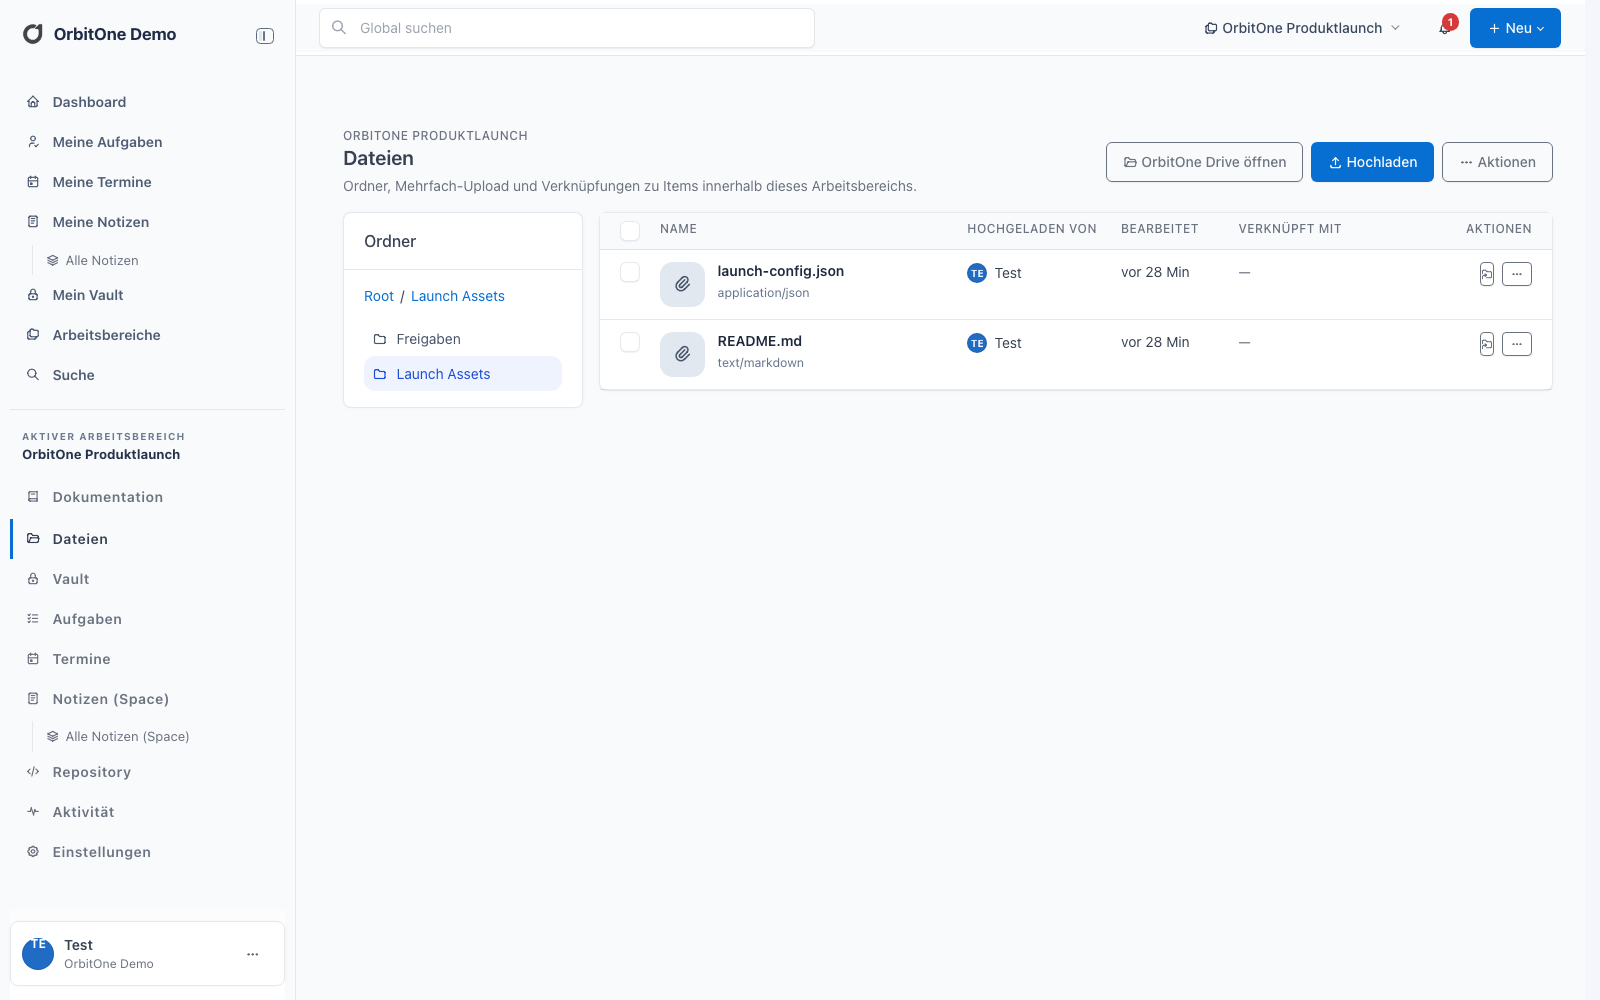
The folder navigation on the left determines the contents of the file list. On the right you will find the file type, uploader, modification time and associated OrbitOne items. On small screens, the table changes to a more compact display.
Folders, files, processing status and links remain in a common overview.
Upload files
Open the destination folder.
Click on Upload and select one or more files.
Leave the page open until the upload is confirmed.
If necessary, link the file to a note, doc, task, appointment, or repo entry.
Larger files are transferred via object storage. OrbitOne displays the status during this and only creates the visible file entry after successful completion.
Versions and download
If an existing file is updated, its version history is retained. If you are unsure, download an older version instead of overwriting the current version.
Linked content
The column Linked to leads directly to the associated Docs, Notes, Tasks and other elements. Conversely, you can select files via the rich text editor or the link dialog of an entry.
Work locally
Files in Finder or Explorer
OrbitOne Drive keeps shared workspace files available locally.
The macOS version is installed via the Mac App Store and updated automatically. On Windows you can use the integrated update check under Manufacturer & Support.
Set up
Install OrbitOne Drive and log in with your OrbitOne account.
Select the local sync folder and the desired clients or workspaces.
If necessary, activate the Finder shortcut or, in Windows, a free drive letter.
Wait for the full match on the first run. Drive then uses the central file and version structure for quick subsequent synchronizations.
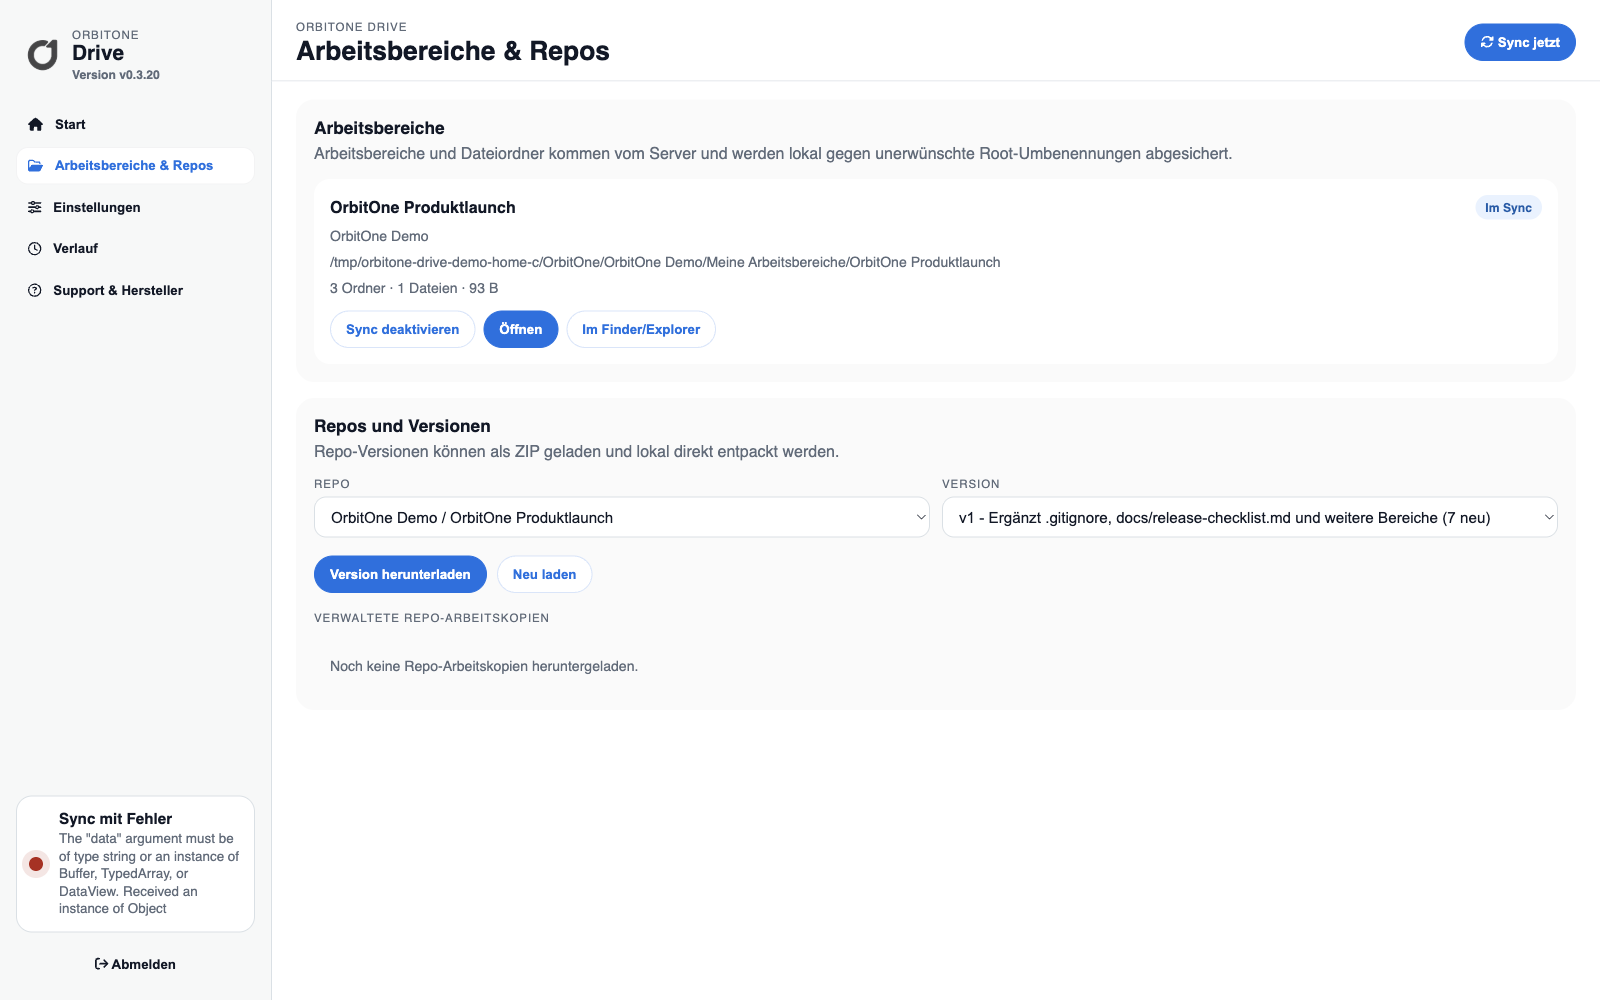
Drive shows synchronized workspaces and available repo versions in an operable desktop view.
Understand status
status
Meaning
Everything up to date
There are no waiting transmissions.
Synchronization is in progress
Files are recognized, uploaded or downloaded.
Conflict copy created
Local and remote changes could not be automatically merged.
Action required
Login, storage location or an individual file must be checked.
Progress and activity appear on both the home page and in the compact sidebar widget. The client remains operable during synchronization.
Important protection mechanisms
Local deletion does not remove an online repo
If a repo working copy is deleted locally, the online version remains. Even normal server files are not permanently deleted simply by removing the local copy.
Folders or files in reserved locations in the sync root will not be uploaded. Drive displays a notice and, if possible, offers to move to a permitted location.
Resolve conflicts
If changes are made at the same time, Drive saves both versions and creates a conflict copy with a time stamp. Compare the files, apply the desired changes and only then remove the copy that is no longer needed.
If Drive doesn't respond
Open History and check the last action.
Check under Settingswhether sync and repo folders can be reached.
Lead under Manufacturer & Support the version check.
Quit and restart the app. If it gets stuck, send the relevant log extract to support.
Tools
Repositories, Git & VS Code
Version project files using real Git Smart HTTP, OrbitOne Drive or directly from Visual Studio Code.
Prepare Git access
OrbitOne exposes each repository as a Git Smart HTTP remote over HTTPS. It allows you to use regular Git on the command line, an IDE, or a desktop client.
In OrbitOne Web, open the desired workspace and then the repository.
Copy in area Git Smart HTTP the preferred remote URL.
Choose Create Git token, give it a clear name and limit the token to this repository.
Activate repo:read for cloning and pulling. For pushes additional repo:write needed.
Immediately copy the displayed token to a safe location. The full value will not be displayed again later.
Git credentials
Use your OrbitOne email address as your username and your personal Git token as your password. Your regular OrbitOne password does not belong in Git. Never write the token to the remote URL, script, or versioned file.
Clone existing repository
Replace the example URL with the remote URL from your repository detail. Git asks for your username and password the first time you access it.
git clone https://git.orbitone.pro/{mandant}/{repository}.git
cd {repository}
git status
git log --oneline --decorate -10
After the clone shows git remote -v the stored OrbitOne remote. By default it has the name origin.
Upload local project for the first time
If your project is not yet a Git repository, initialize it locally and then connect it to the empty OrbitOne repository:
cd /pfad/zu/deinem-projekt
git init
git add .
git commit -m "Initialer Projektstand"
git branch -M main
git remote add origin https://git.orbitone.pro/{mandant}/{repository}.git
git push -u origin main
If a Git repository already exists locally, this is omitted git init and the initial commit. Check with me git remote -vwhether there is already a remote named origin is present. If so, you can specifically reset your URL:
git remote set-url origin https://git.orbitone.pro/{mandant}/{repository}.git
git branch -M main
git push -u origin main
Standard branch main
A clone of a completely empty remote may initially depend on your local Git configuration master create. Name the branch before the first push git branch -M main around.
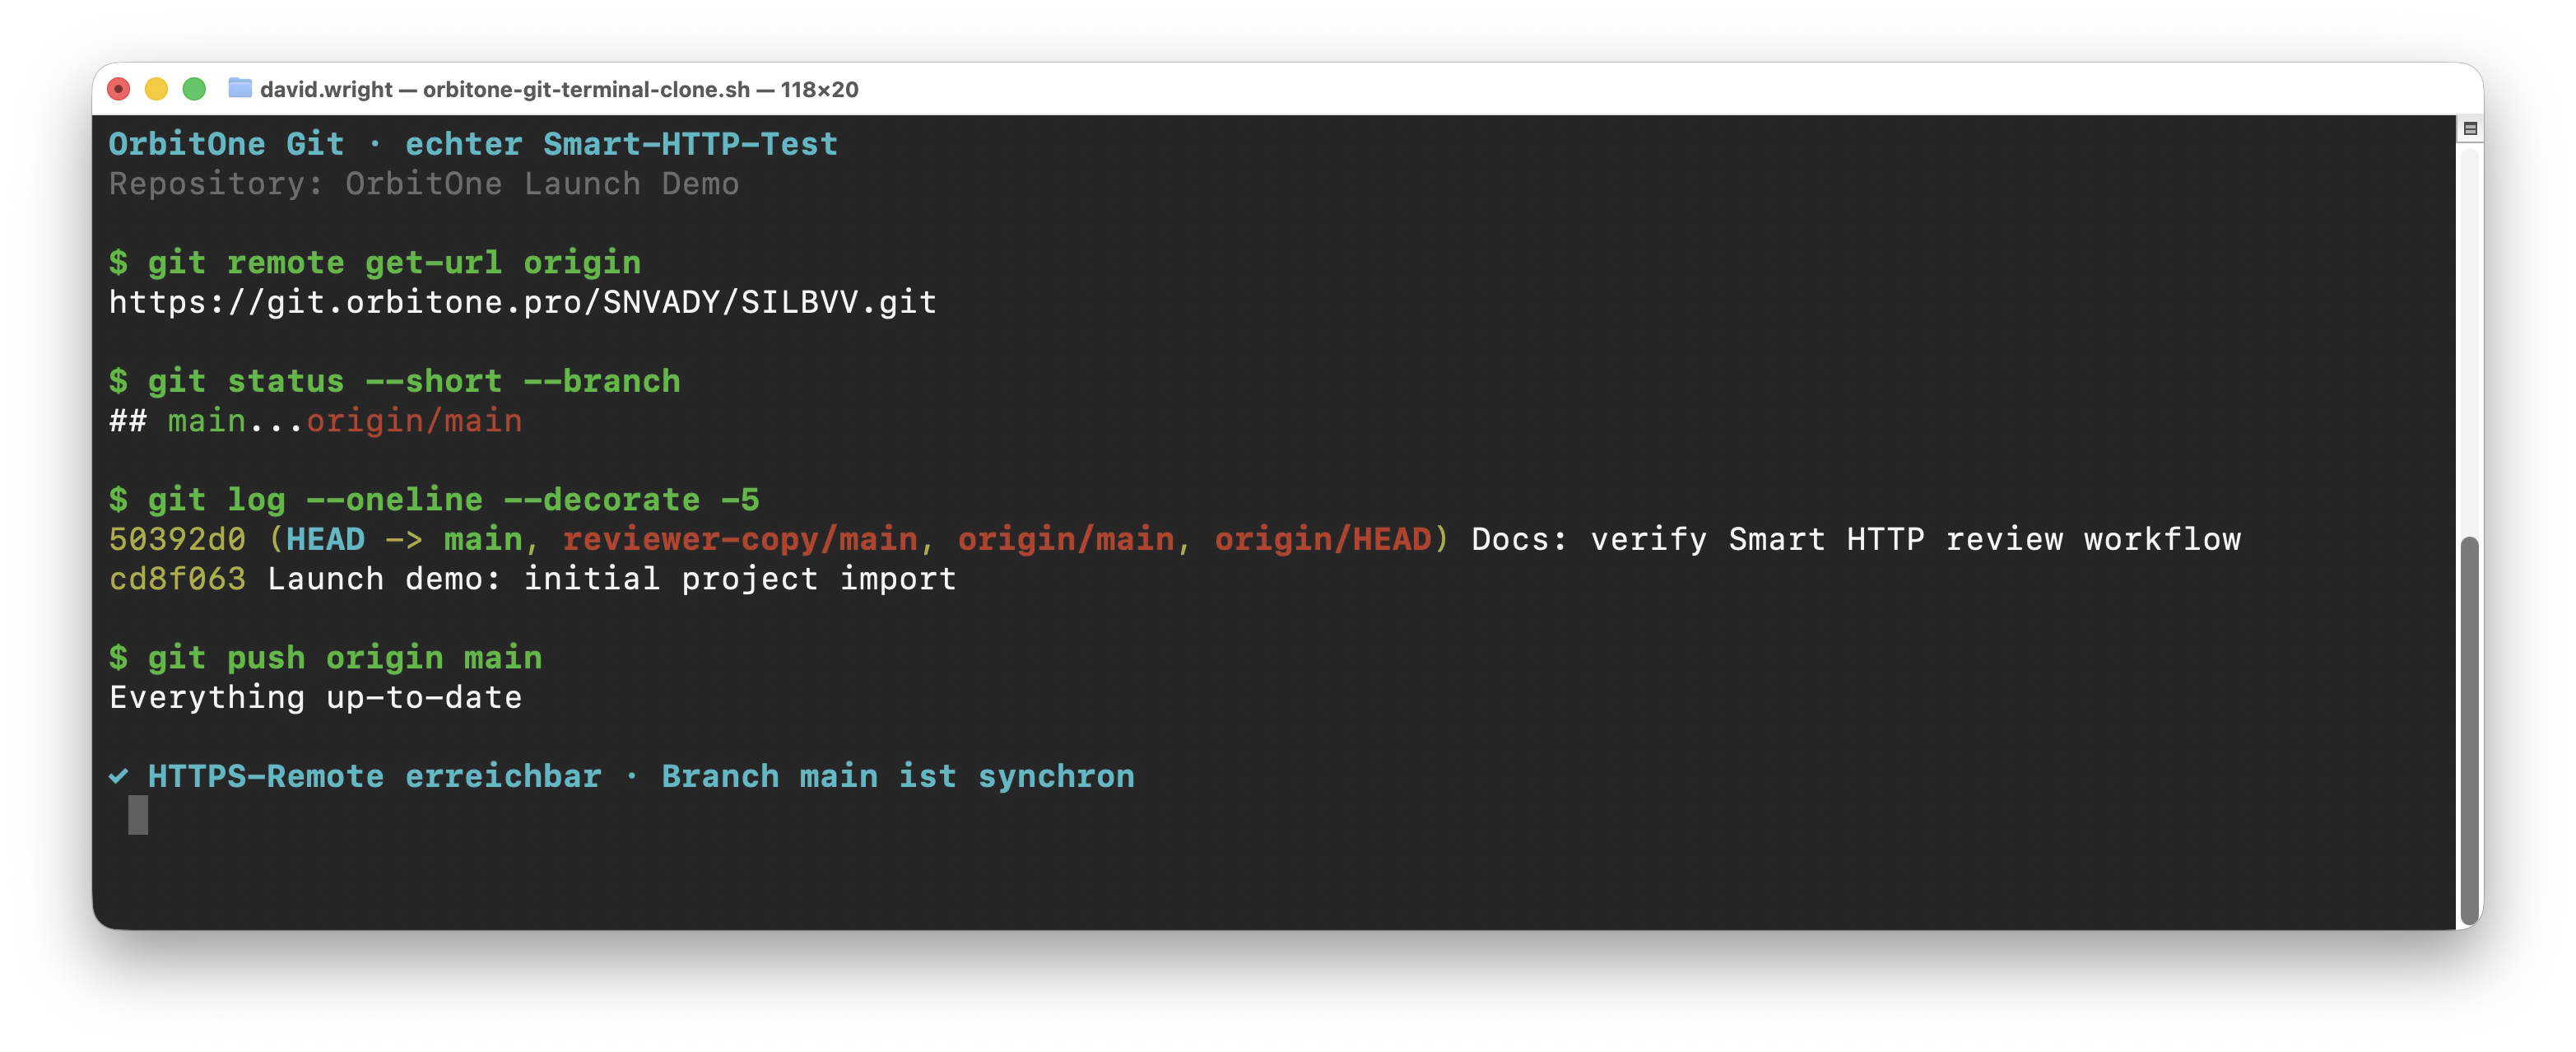
Real command line usage: HTTPS remote, synchronous branch, two commits and successful push to main.
Daily workflow
Before making new changes, get the current status. Then review your changes, create a meaningful commit and push it to OrbitOne:
git pull --ff-only
git status
git add .
git commit -m "Kurze Beschreibung der Änderung"
git push
With git add datei.ext or git add ordner/ you can only specifically record certain changes. Check before committing git diff those not yet reserved and with git diff --staged the noted changes.
Command
Purpose
git status
Shows branch, changed and flagged files.
git pull --ff-only
Gets new commits without automatically creating a merge commit.
git log --oneline --decorate -10
Shows the latest commits and branch pointers compactly.
git diff
Shows local changes that have not yet been marked.
git push
Pushes your local commits to the OrbitOne remote.
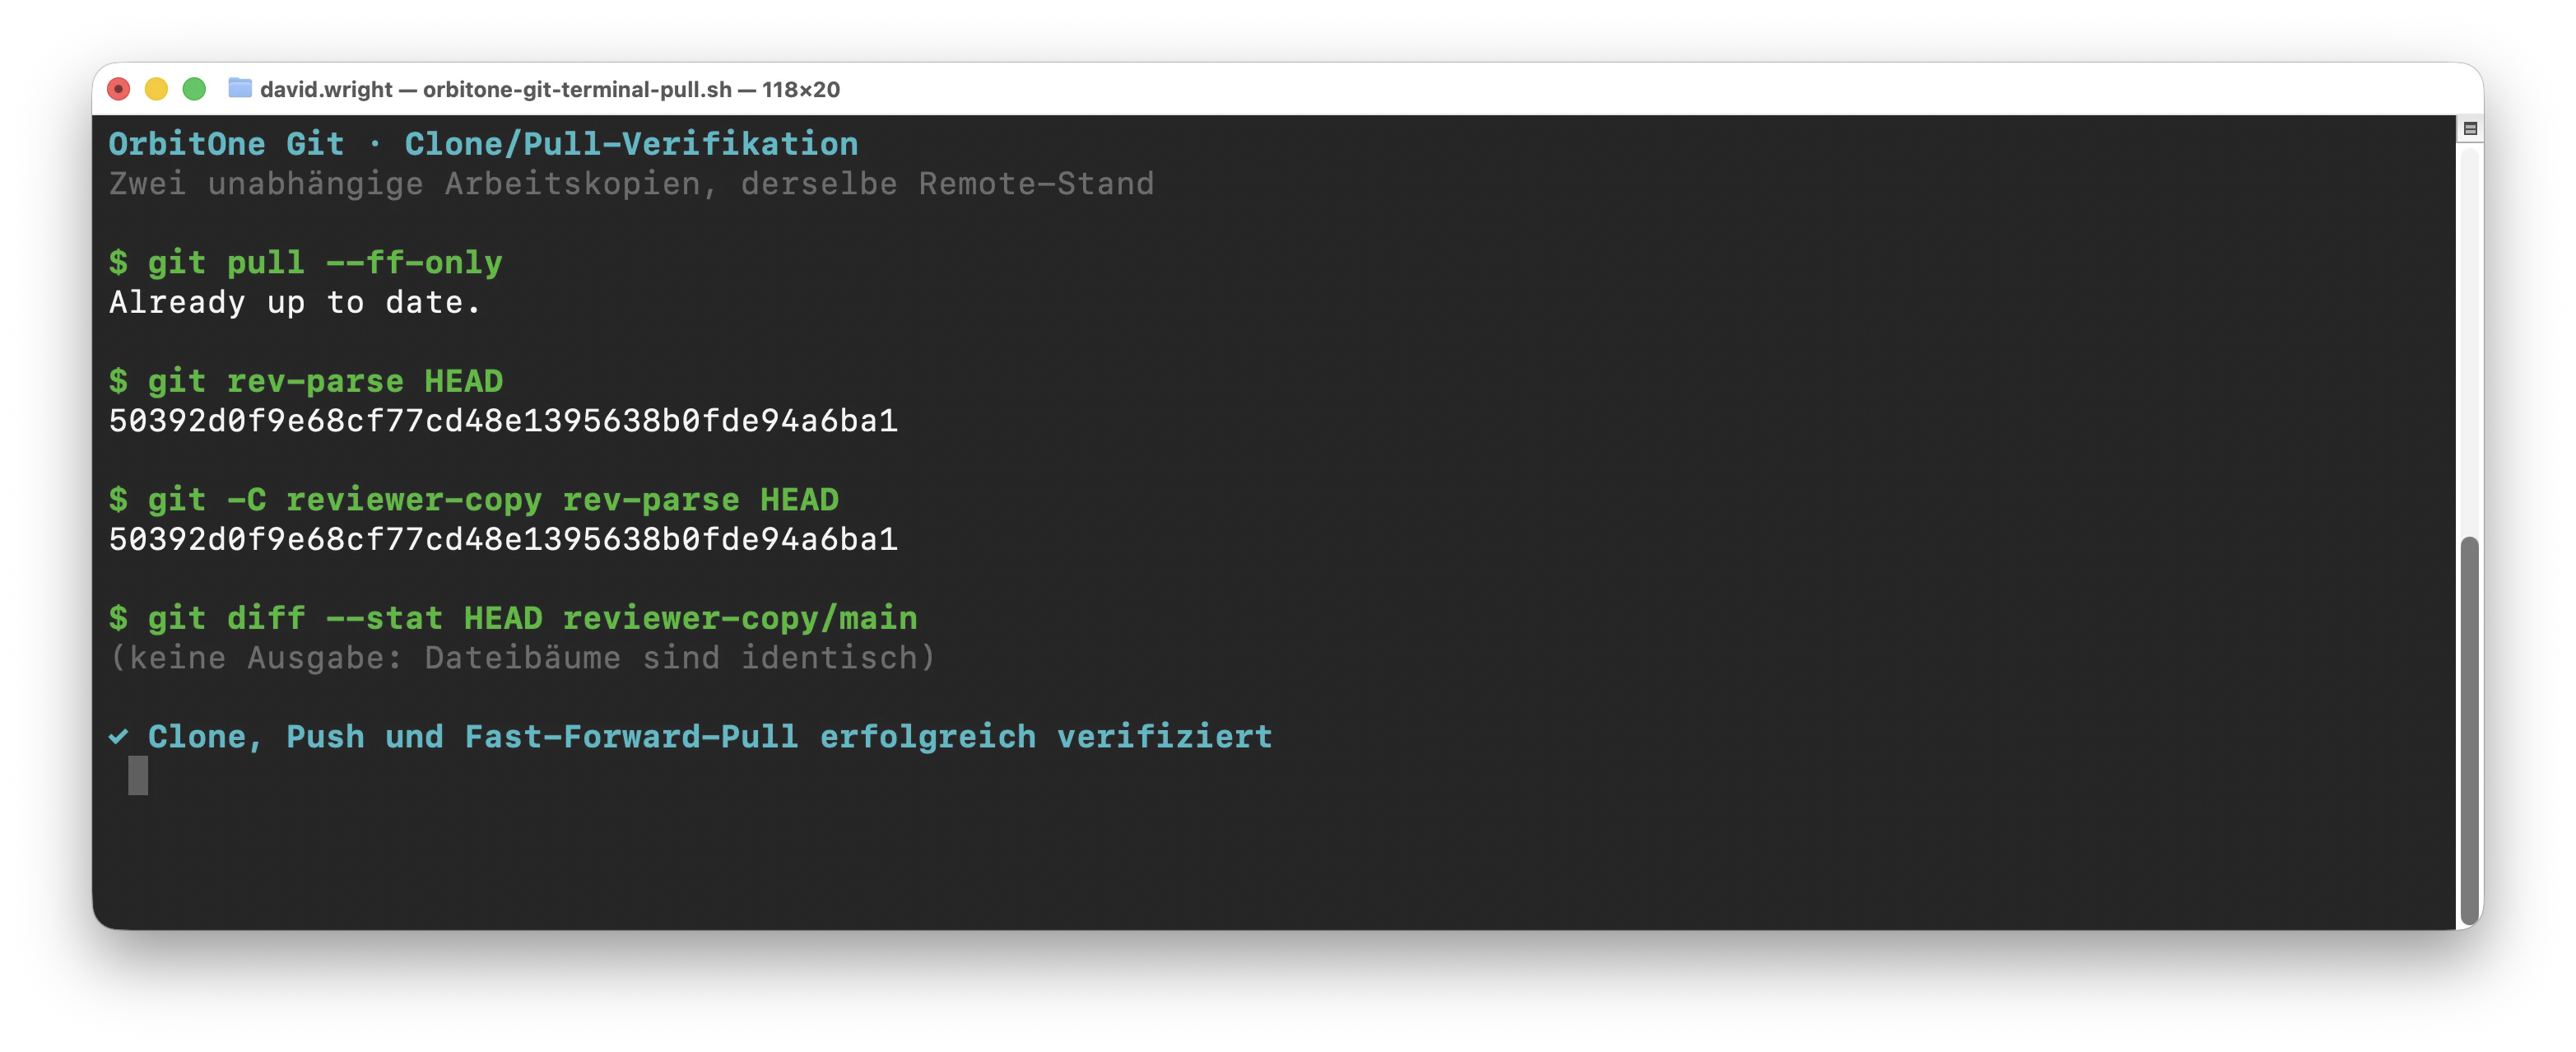
The reconciliation of two independent working copies: same commit hash, identical file tree and successful fast forward pull.
Save your registration securely
Git can manage credentials through the operating system's secure credential store. On macOS, the keychain is usually used for this; Git Credential Manager does this on Windows. Confirm storage only on your own device.
Instantly revoke a token in OrbitOne if it has been exposed or a device is no longer trusted. Then create a new token and update the entry in the credential store.
Common Git Issues
Message
Solution
Authentication failed
Use the OrbitOne email address and Git token instead of the normal password. Check whether the token is still active.
403 or push not allowed
The token required repo:write and your OrbitOne account write permissions to the repository.
src refspec main does not match any
First create a commit and rename the current branch git branch -M main around.
Bring along first git pull --ff-only the current status. If there are different changes, consciously merge the branches and then push again.
Incorrect credentials are reused
Remove the old entry for git.orbitone.pro from Keychain or Credential Manager and log in again.
No forced push in the normal process
Use git push --force not to bypass a rejected push. A force push can overwrite foreign commits and is blocked on OrbitOne depending on the server configuration.
Verified with real Git
For the practical test OrbitOne Git Launch Demo created, cloned into an empty working copy and pushed with an initial commit. A second independent working copy was cloned, modified, and pushed again. The subsequent one git pull --ff-only brought both copies to exactly the same commit and file tree.
Open the repository in OrbitOne Web and download the VS Code configuration.
Put the created file as .vscode/orbitone.json in the project.
Open the project folder in VS Code and log in using the OrbitOne extension.
Check the status. The extension shows whether your local status is up to date.
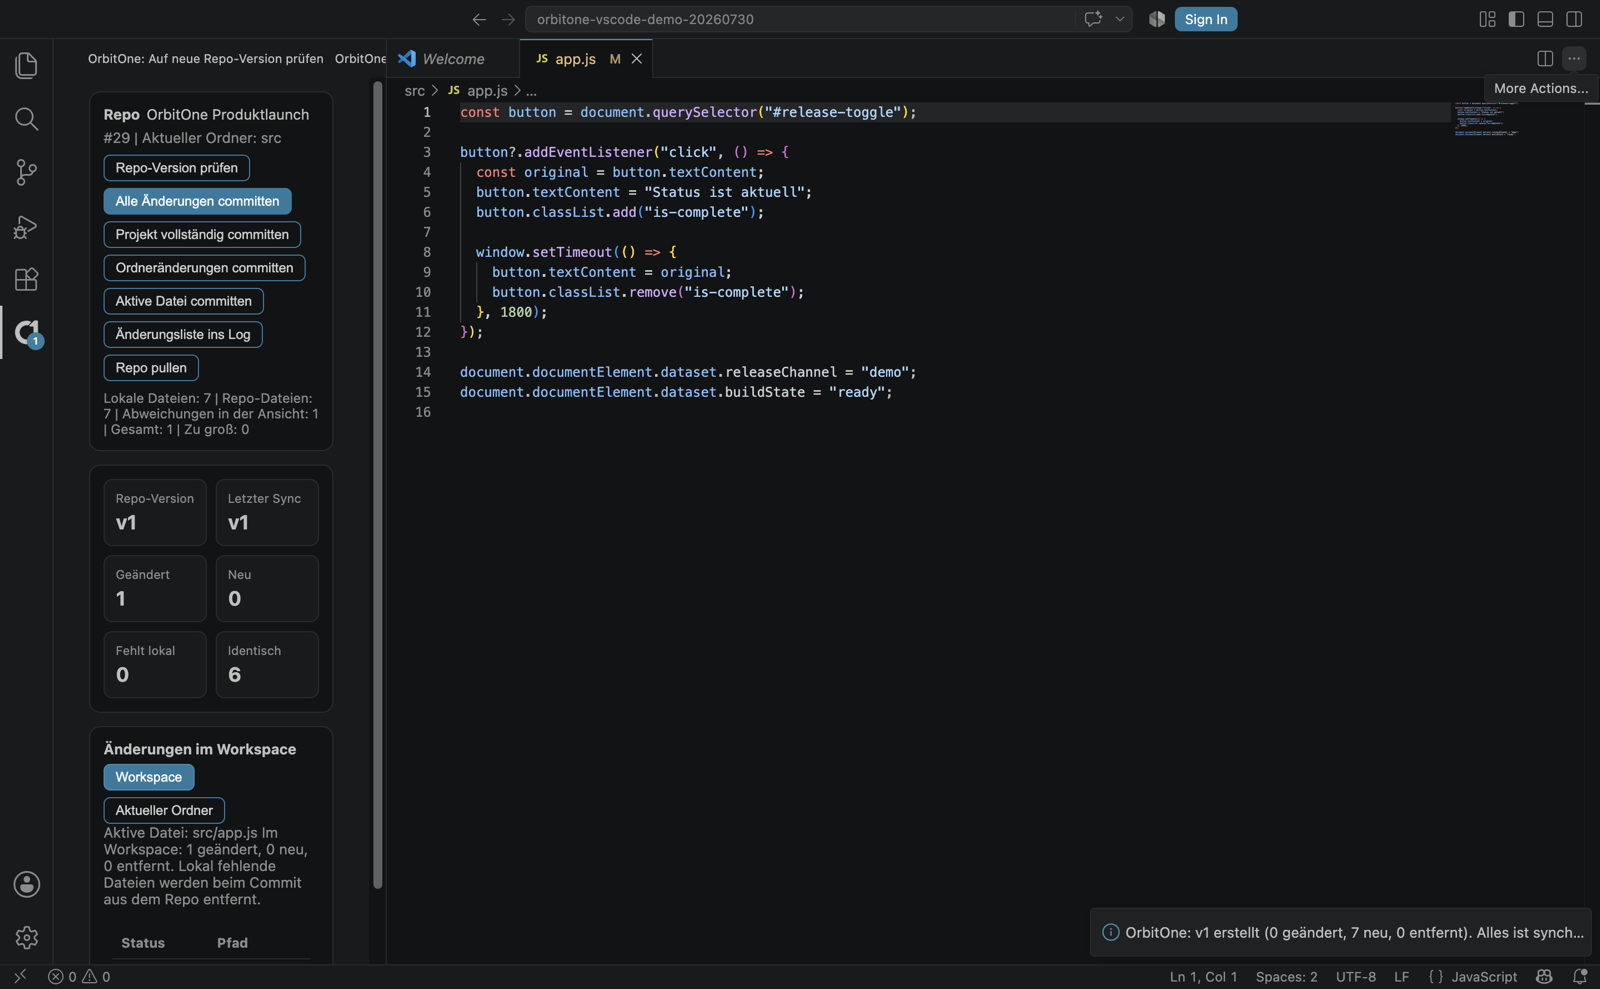
The extension compares local files with the current OrbitOne repo version and shows deviations directly in the editor.
Commit and pull
You can commit individual files, folders or the entire project. During commit, pull and version download, the extension shows an animated status. After a successful commit, the change badge is updated.
Re-upload entire project
Use the full project commit if you want to recommit all existing files. Missing local files are not automatically interpreted as a deletion of the online repository.
Exclude files
Use .gitignore or .gitskip for generated and local files. Folder like .git, .history, .vscode and node_modules are not transferred as project content by default.
Repo download in Drive
OrbitOne Drive can download repositories as a local working copy. In the client's repo overview you can see the current status, update or remove the local download. If the folder is deleted manually, the local entry also disappears, but the online version remains.
Apps
OrbitOne Mobile for iOS & Android
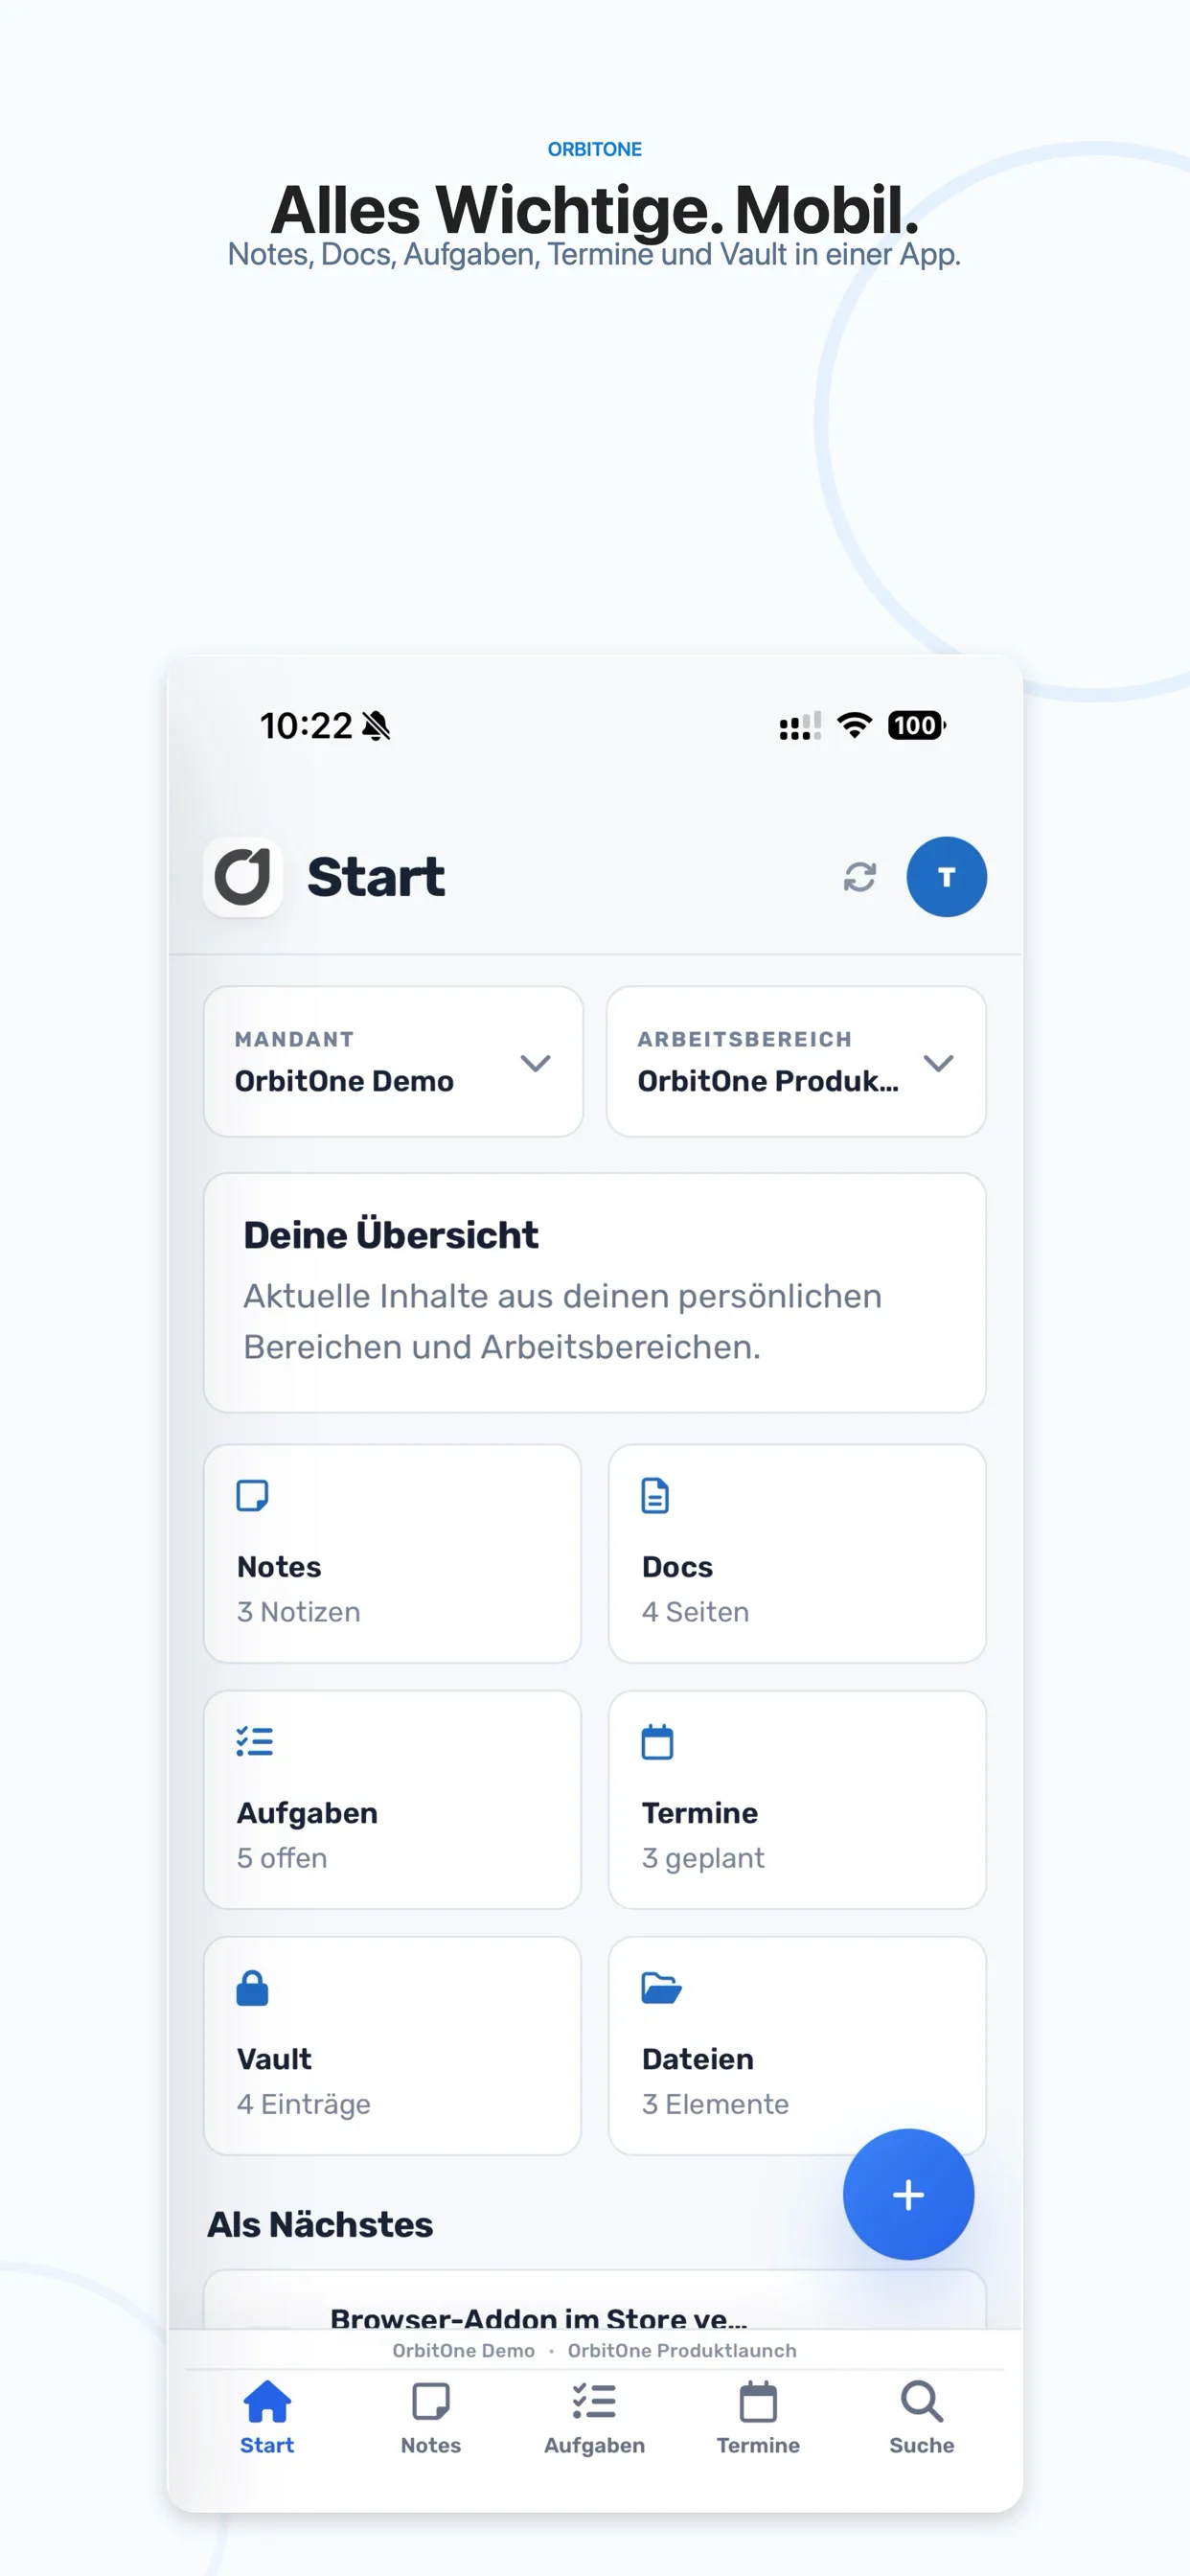
Notes, Docs, Tasks, Appointments, Quick Capture and Vault on the go with push notifications and native device features.
The iOS app is available on the App Store and the Android app on Google Play. There is deliberately no direct download outside the stores.
The app at a glance
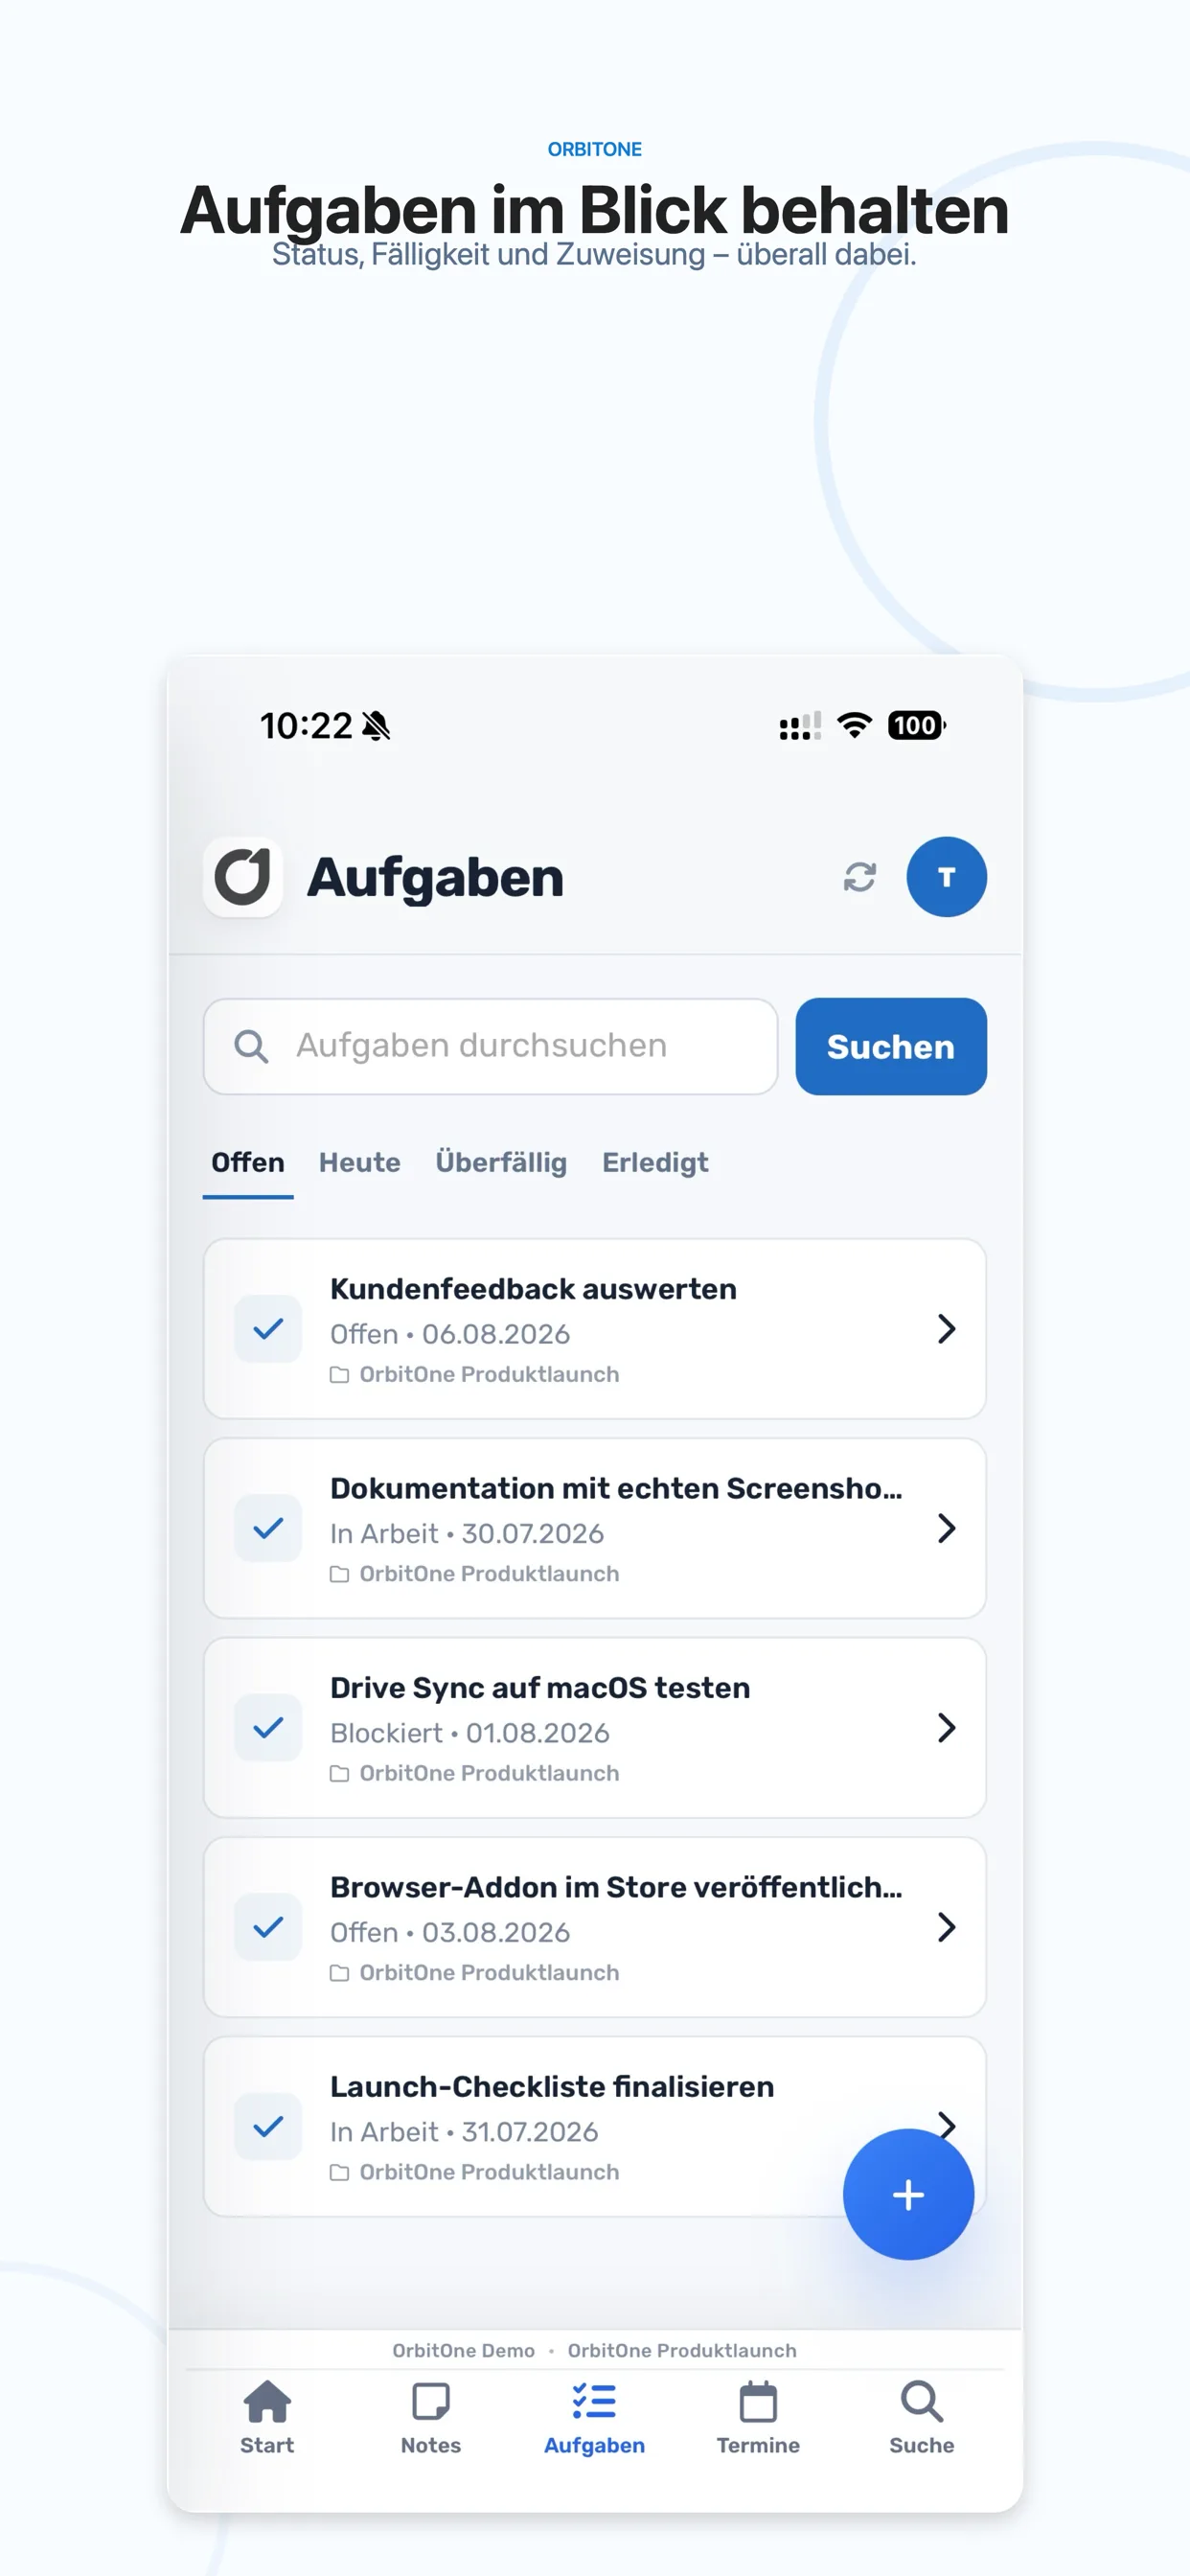
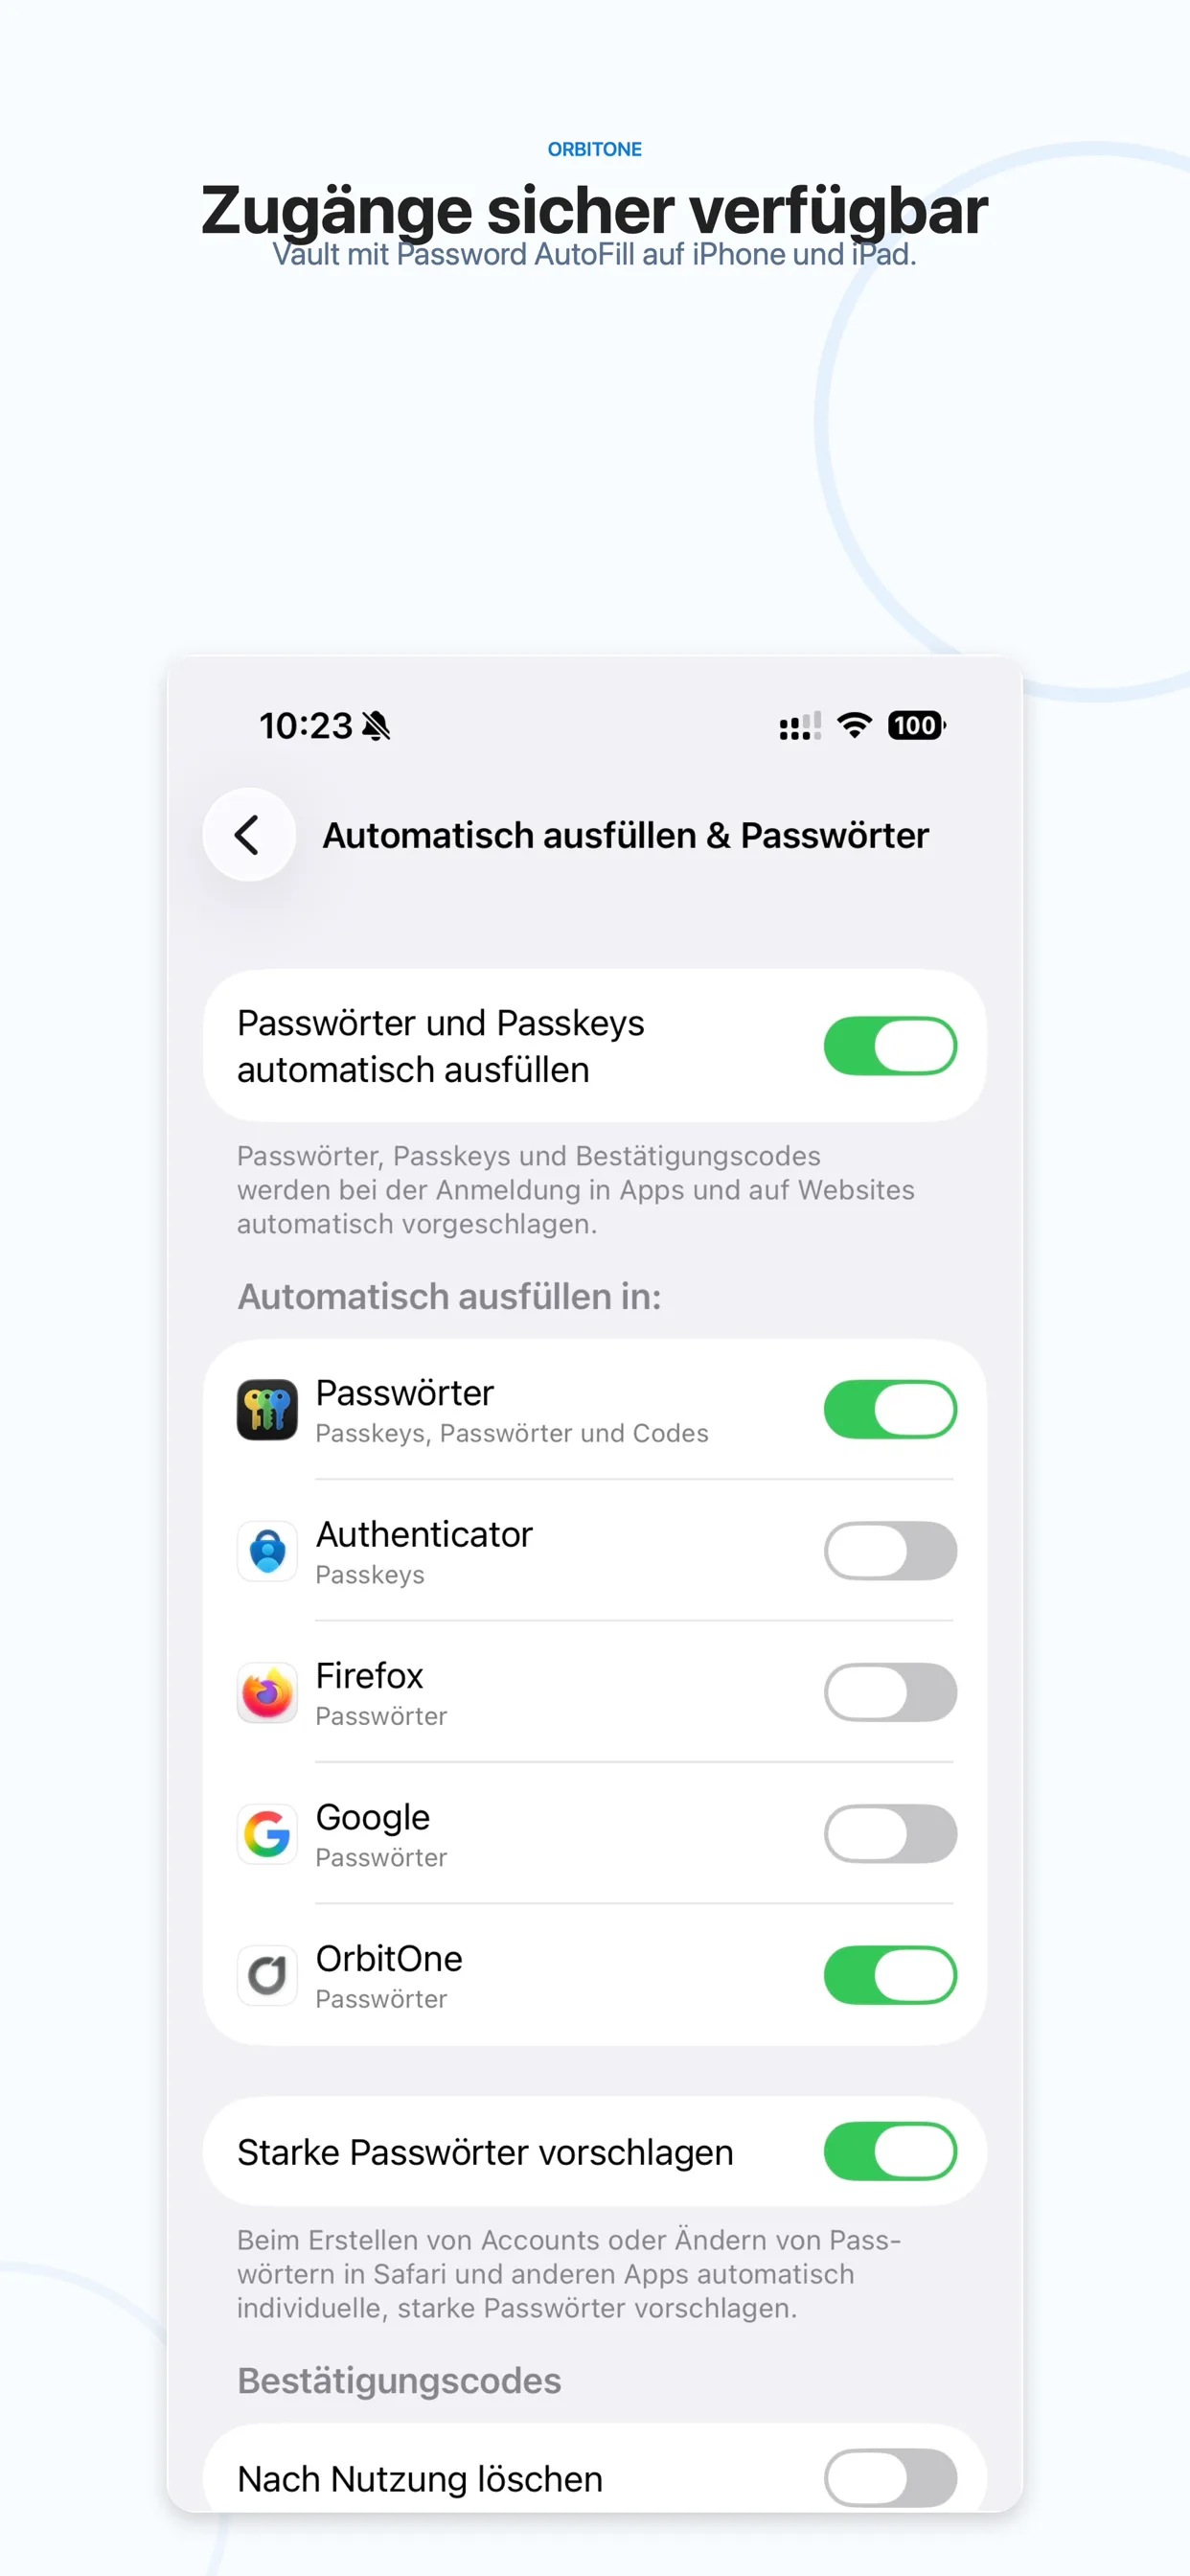
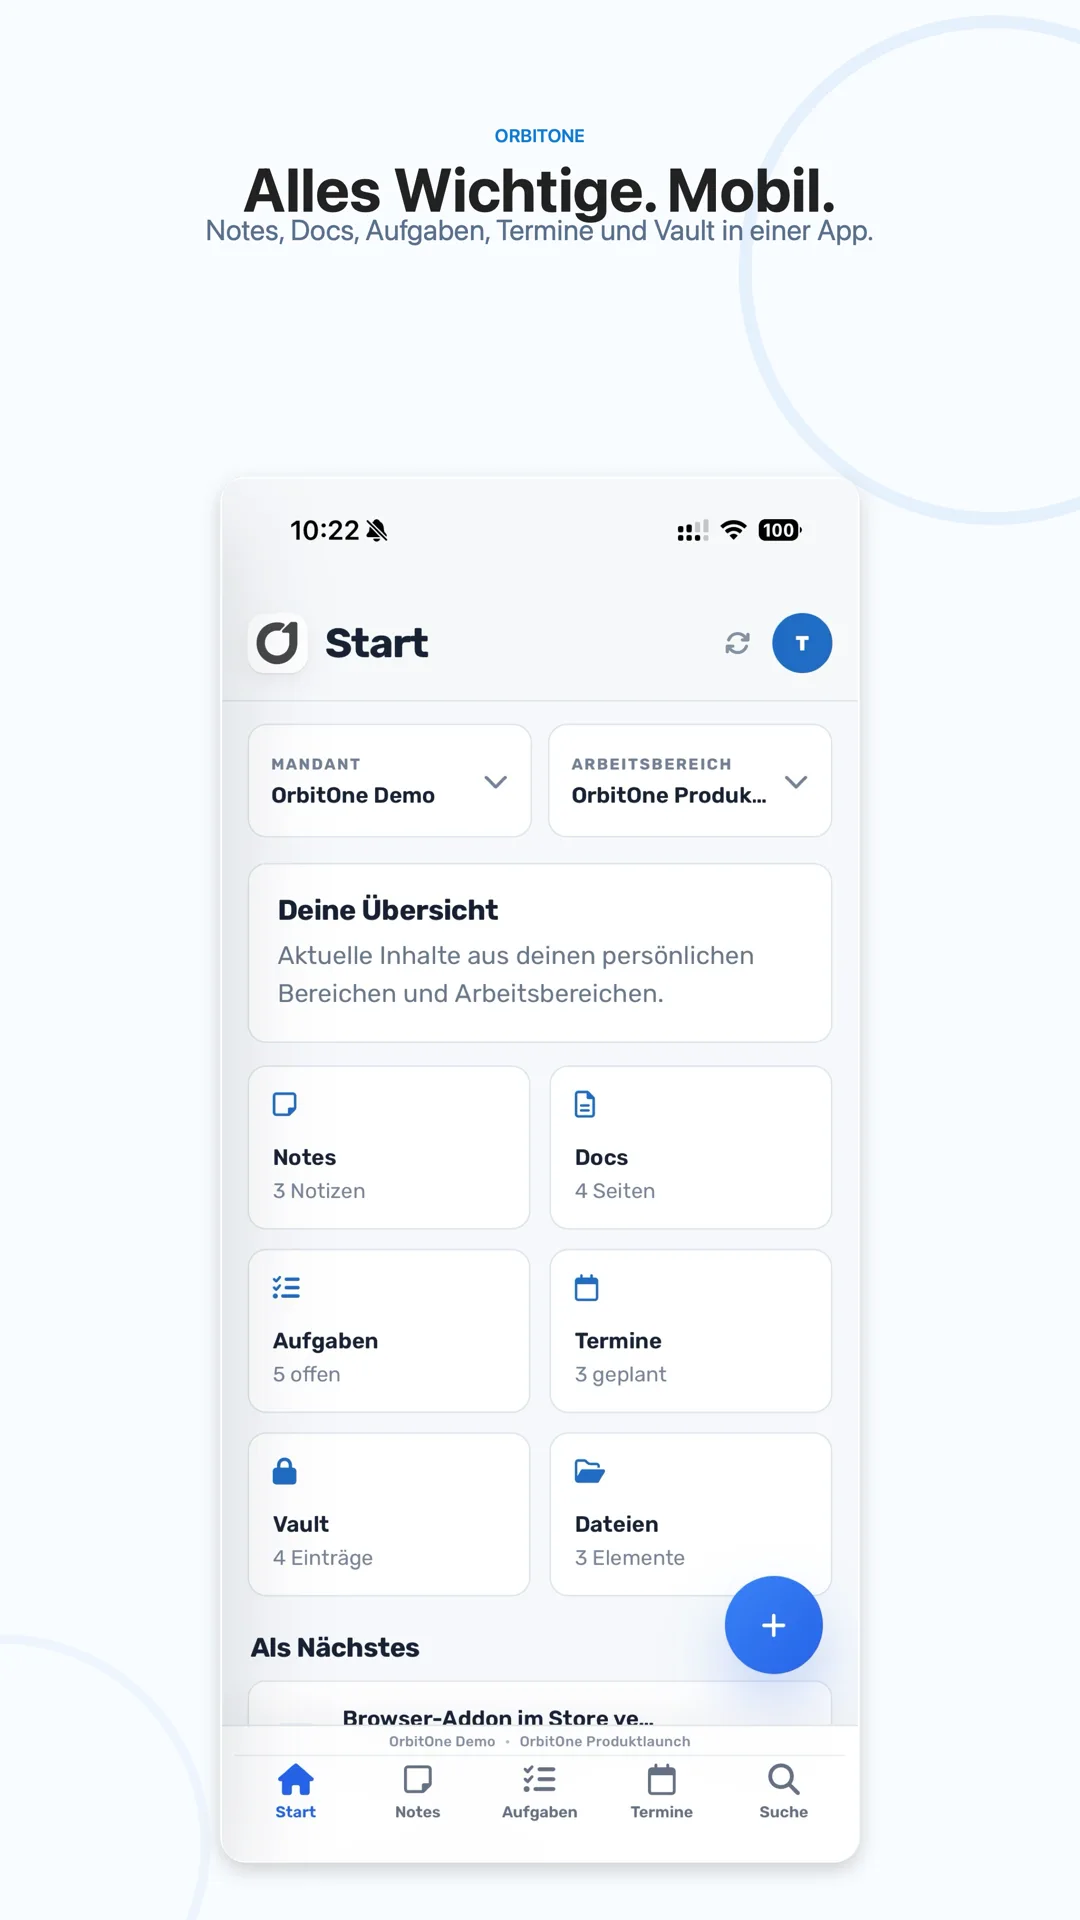
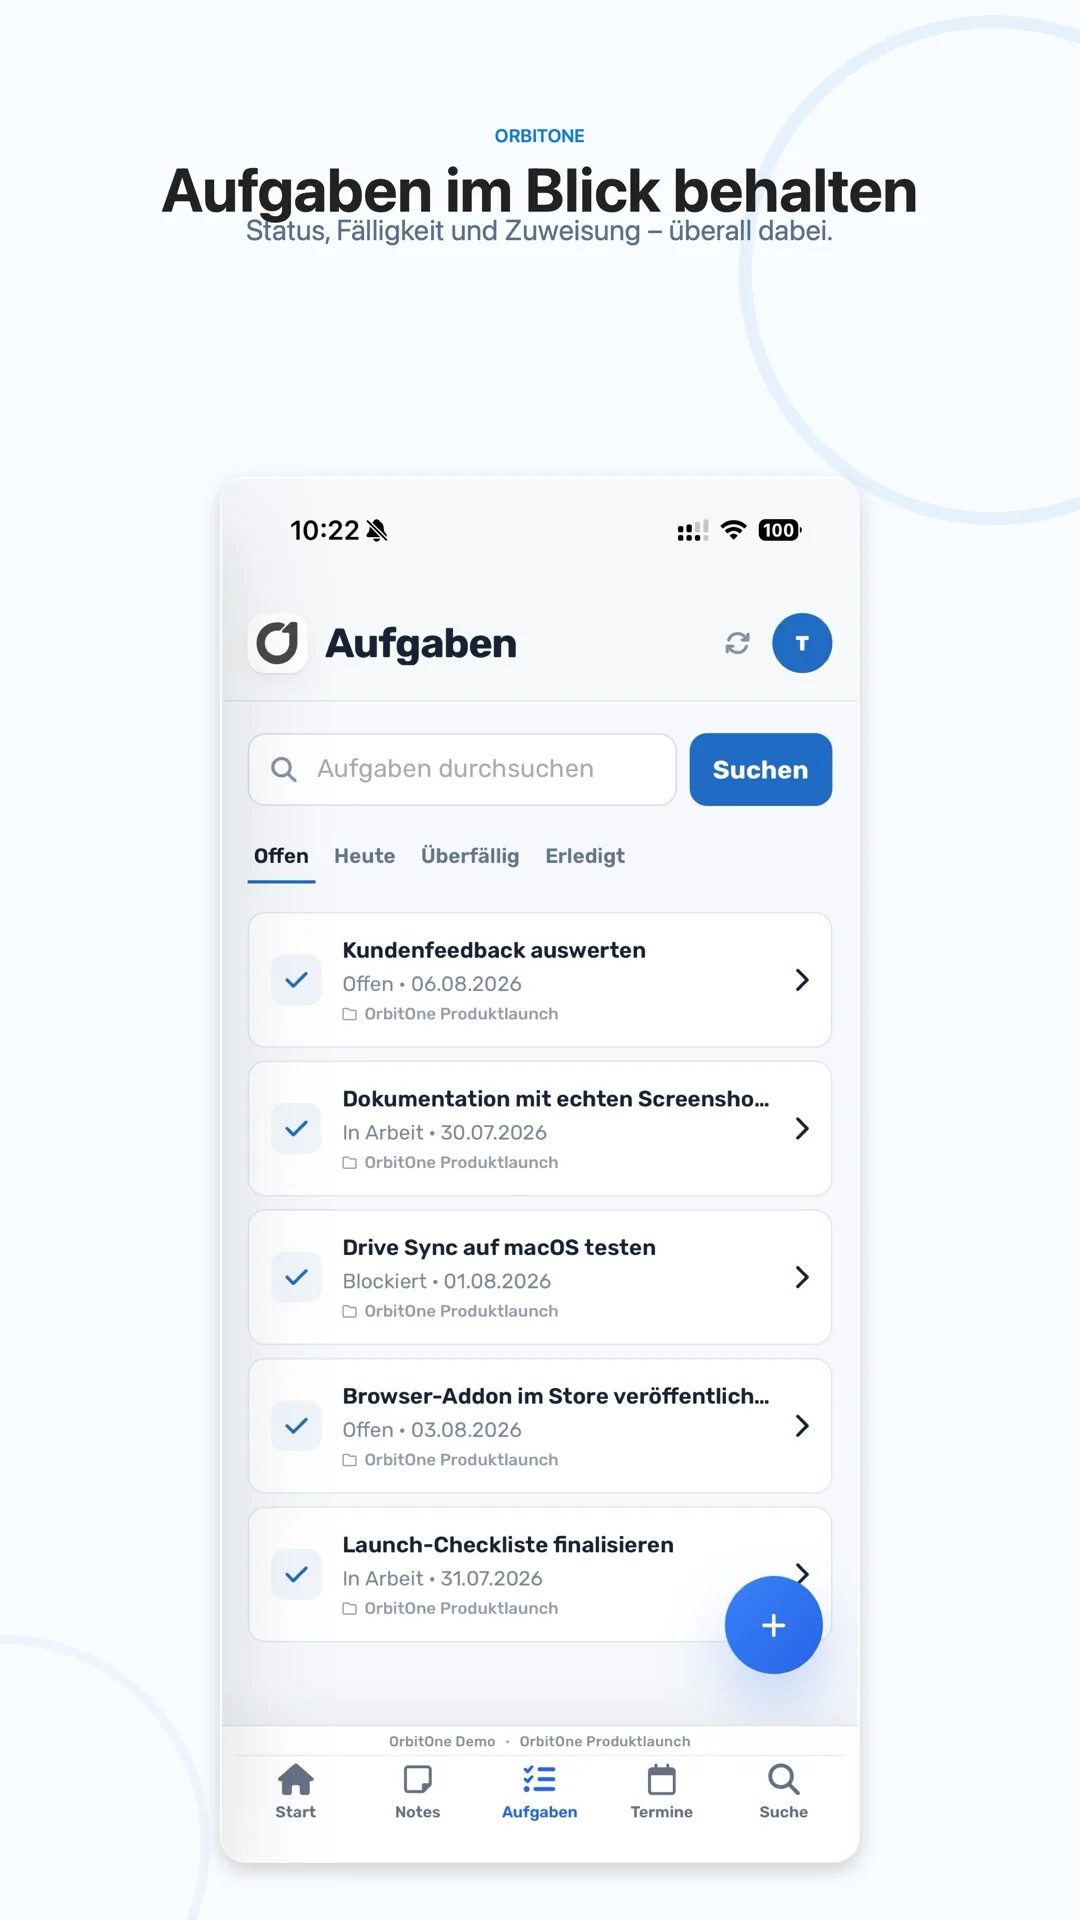
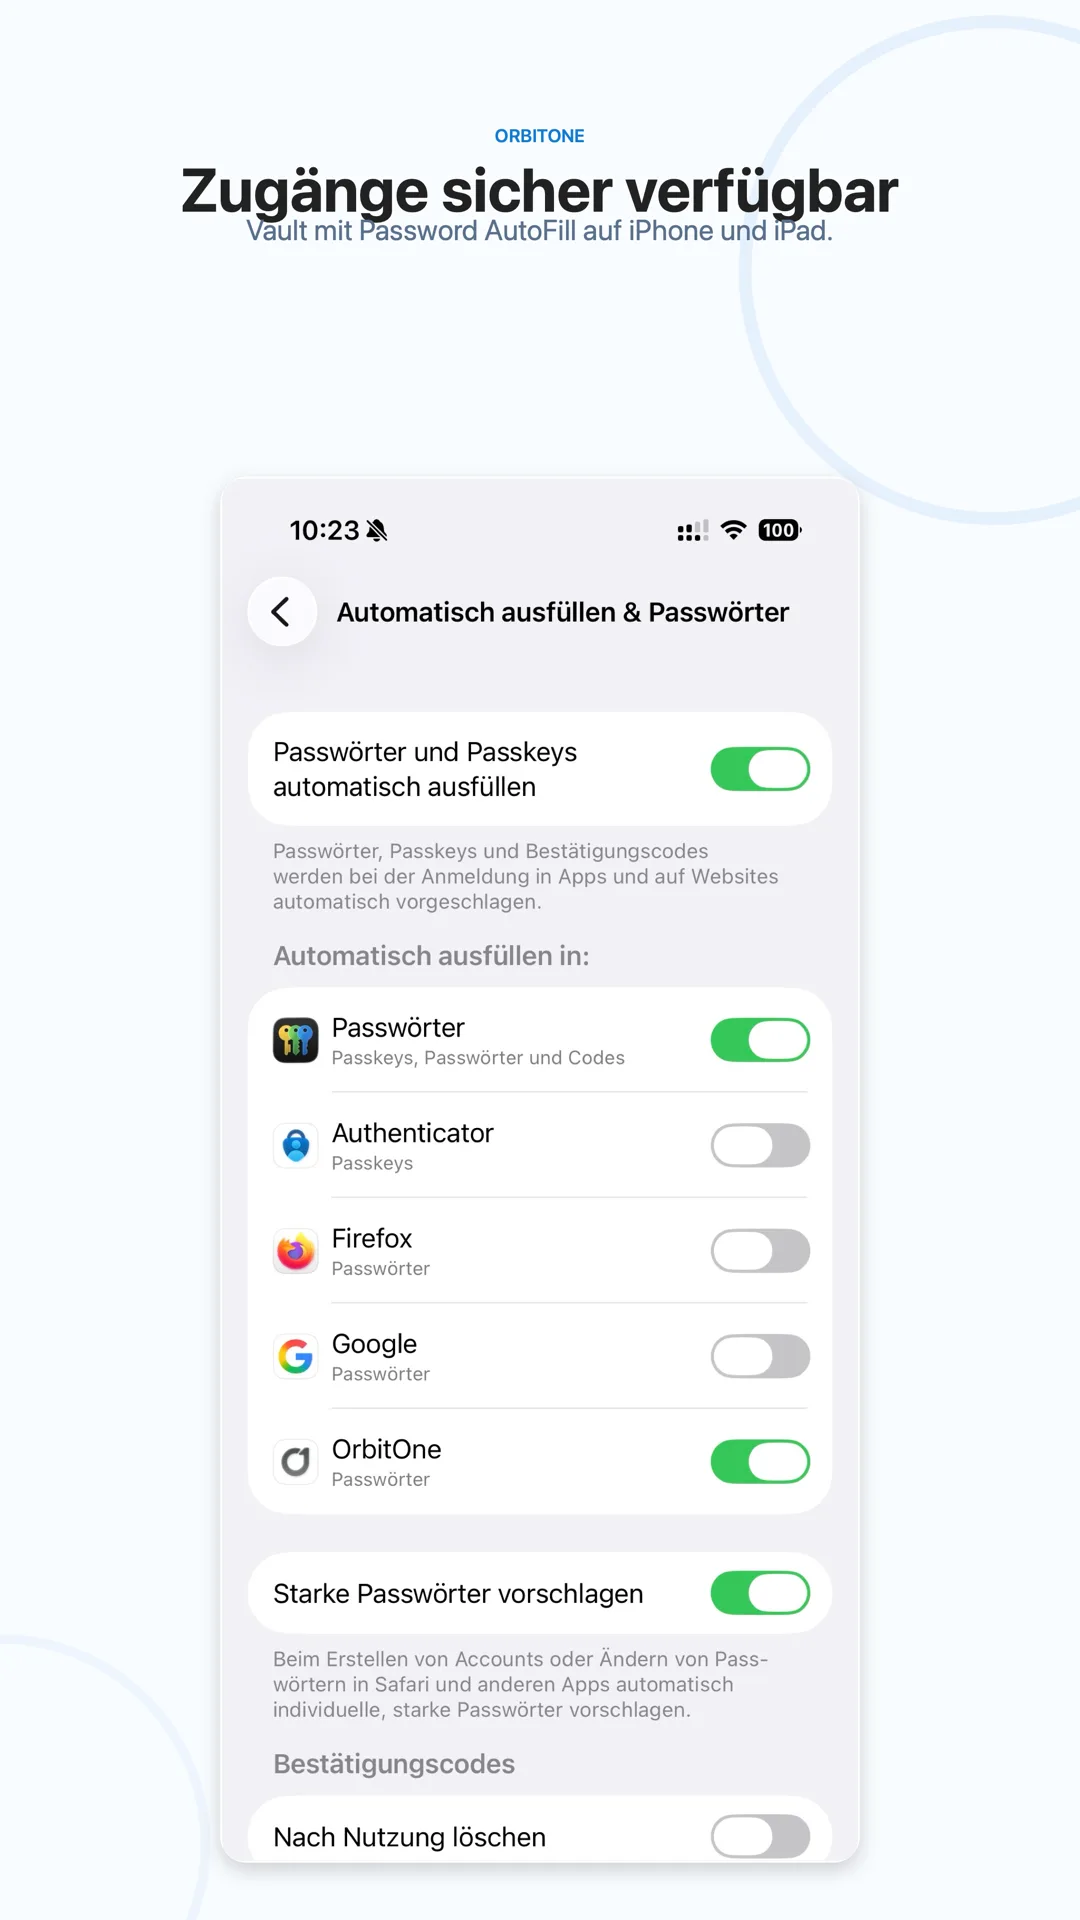
Home page with client, workspace and the most important areas.Keep an eye on tasks, status and priorities on the move.Use Vault access securely on iPhone and iPad.The Android app offers the same central workspace.Tasks and appointments stay up to date even when you're on the go.The mobile vault is also integrated on Android.
Features
Change clients and workspaces
Edit notes, docs, tasks and appointments
Create content via quick entry
Use Vault and password autofill
Receive push notifications
Tools
Vault & Browser Add-on
Save encrypted access in your personal or workspace vault and fill out the appropriate login fields directly in the browser.
Personal and Workspace Vault
Vault
Visibility
Typical use
Personal
Only your user account
Private access and personal services
Workspace
Eligible Workspace Members
Shared service, customer and project access
Single or multiple entries can be moved to any vault that you are allowed to write to. This also applies across clients; OrbitOne checks the target right for each entry.
Chrome, Edge, Firefox and Safari automatically update the released store versions.
Establish connection
Create a personal access token under your profile in OrbitOne Web.
Open the browser add-on settings.
Enter your OrbitOne address and token and test the connection.
The add-on automatically loads all of the account's tenants, personal vaults and permitted workspace vaults.
Select the desired standard vault and subfolder for each tenant.
Keep tokens secret
An access token enables actions with your Vault rights. Do not share it, do not store it on websites and revoke it immediately once it has been disclosed.
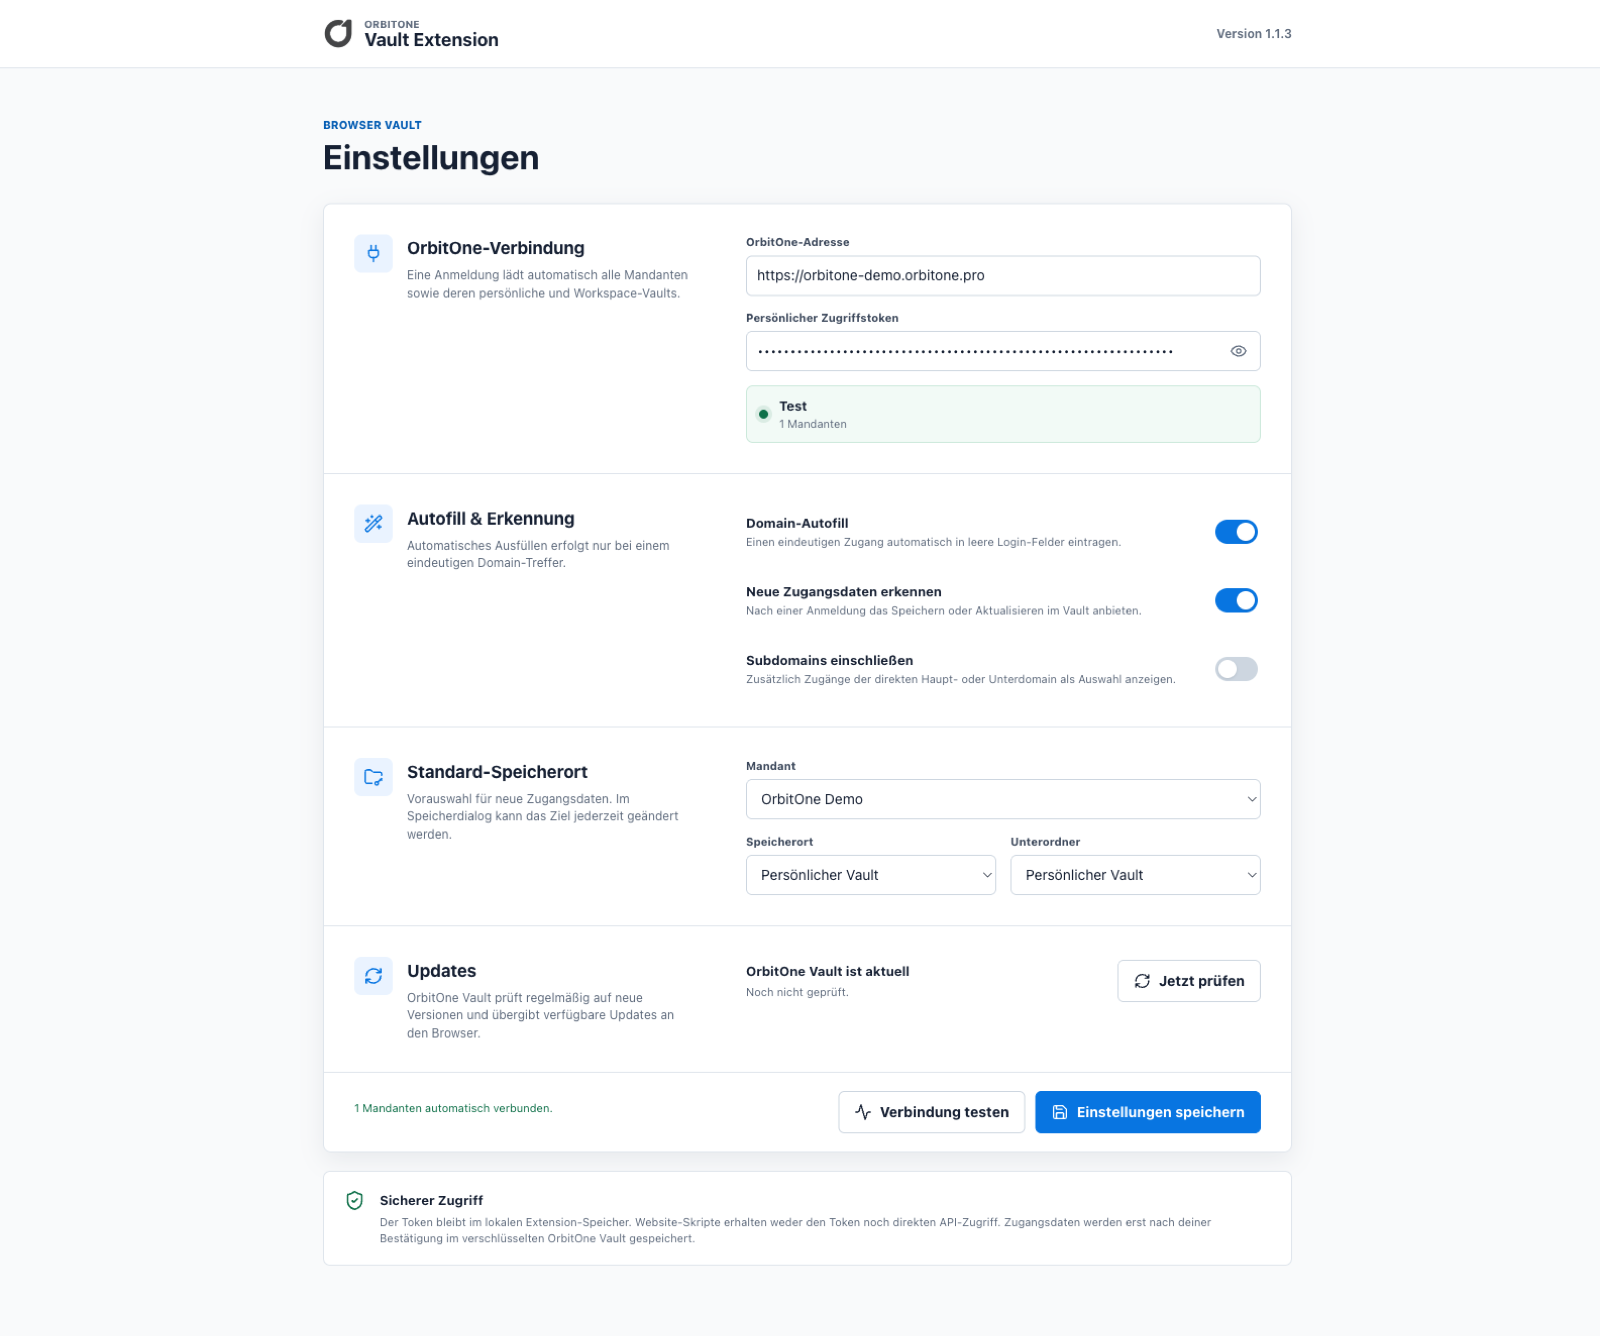
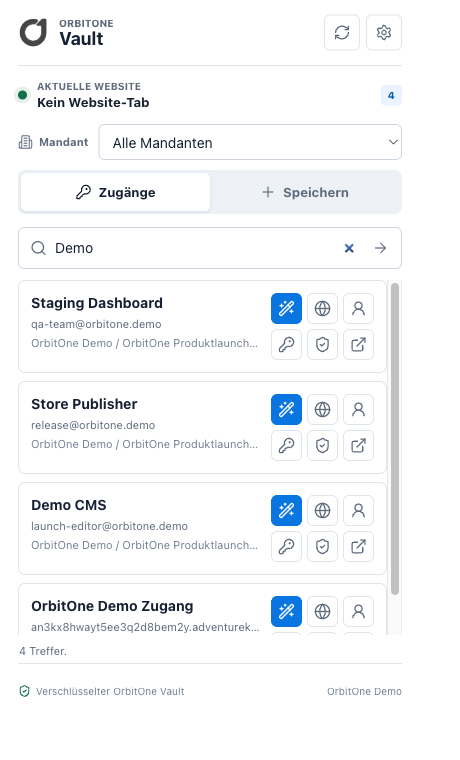
Connection, autofill, and default locations are managed centrally in the add-on settings.
Autofill and new access data
If there is a clear domain hit, the add-on automatically fills in empty login fields. If there are several hits, you choose the appropriate access. After successful registration, the add-on can offer new or changed access data to save.
In the save dialog you specify the client, vault and subfolder. About Ignore this access Remember a page or combination so that the request doesn't appear there every time you log in.
The popup searches for the connected clients and opens the URL of an entry in the browser.
Password tools
The add-on can generate strong passwords, assess their security, and view the age and history of a saved password. Older values are only used for traceable recovery and should not be used again.
Import and export
Tenant administrators can find the wizard in the tenant configuration. Supported include Chrome, Edge, Firefox, KeePass, FileZilla, LastPass and OrbitOne. Before importing, you can select each access individually and assign it to a personal or workspace vault.
Tools
Calendar & CalDAV
Plan personal and shared appointments, include tasks, and connect selected calendars to Apple Calendar or Outlook.
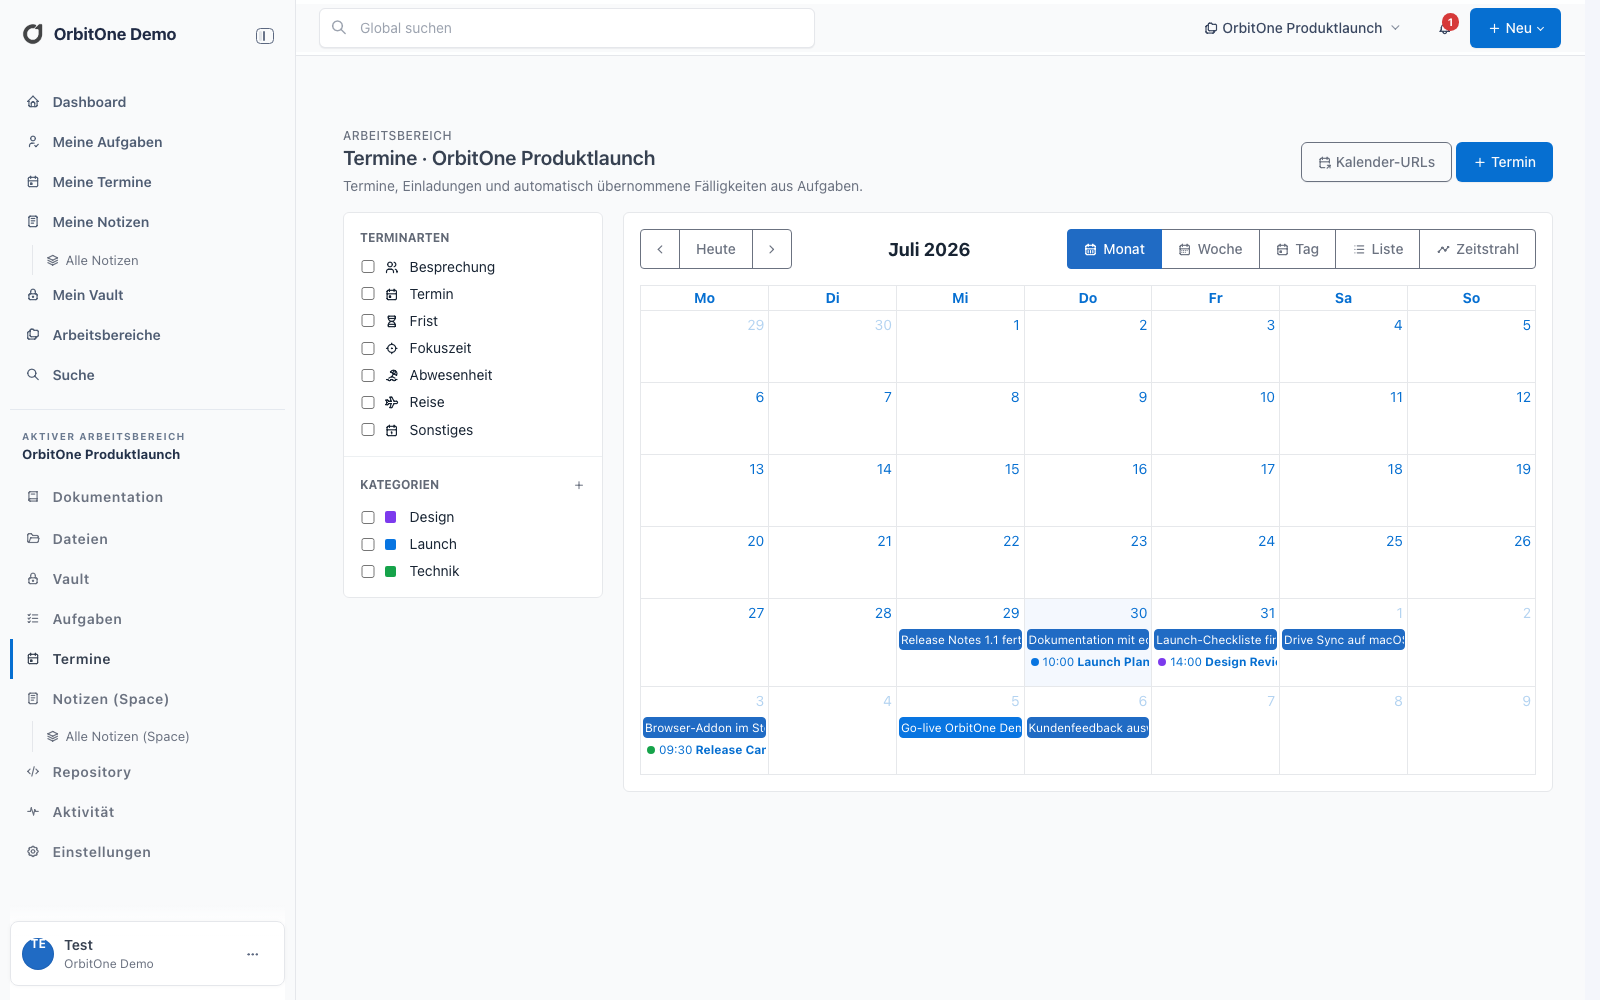
Your own appointments and automatically adopted task due dates appear together in the workspace calendar.
Views
Month, week, day, list and timeline are available. OrbitOne remembers the most recently used view separately for the personal calendar and each workspace calendar.
In calendar views, you can drag and drop editable individual appointments and adjust start and end times by dragging. For recurring appointments, OrbitOne first opens the selection for the affected appointment or series.
Create appointment
An appointment can contain subject, rich text description, location, meeting link, time period, all-day status, type, categories, participants, series and reminders. Link to Notes, Docs, Tasks, Repositories, Commits, Files, Vault Entries, or external URLs if necessary.
Tasks in the calendar
Tasks with relevant dates automatically appear in the calendar. Changes to the automatically generated calendar entry are traced back to the task, as long as the edited field belongs to the task.
Show workspace calendar personally
Open My appointments.
Open the filters and activate the desired workspaces.
If necessary, narrow down by type or category.
Optionally create an individual calendar URL for the current selection.
iCal or CalDAV?
iCal
CalDAV
Read
Yes
Yes
Edit
No
With writable release
Suitable for
Subscription and filter view
Two-sided calendar connection
Copy the URL generated by OrbitOne completely into the calendar client. The URL contains a personal access key and must be kept confidential. If you suspect sharing, revoke the release and create a new one.
Calendar client login dialog
Use the information shown in OrbitOne. Some clients require a username and password even if the actual access key is already in the calendar URL.
Create CalDAV access in OrbitOne
In OrbitOne Web, open your personal calendar or desired workspace calendar.
Click on Calendar URLs and create a new release. Activate Allow editingif you want to transfer changes from Apple Calendar or Outlook back to OrbitOne.
Copy the complete one using the calendar symbol CalDAV URL. It ends with /calendar/.
Copy using the key symbol CalDAV access key. It is only valid for this calendar share and can be revoked later.
Field in the calendar client
OrbitOne value
Server address / DAV URL
Complete CalDAV URL Calendar URLs
Username
Your OrbitOne email address
Password
CalDAV access key; alternatively, your OrbitOne password
Passkey is not CalDAV access key
A WebAuthn passkey, email one-time code, or API token does not work in a CalDAV login dialog. Use the CalDAV access key copied via the key icon. The iCal URL is read-only and is not suitable for two-way synchronization.
Set up Apple Calendar
On Mac
Open Calendar and choose Calendar → Add account.
Choose Other CalDAV account and as account type Manually.
Enter your OrbitOne email address as your username and your CalDAV access key as your password.
Enter the full OrbitOne CalDAV URL as the server address and confirm with Sign in.
As a test, create an appointment in this calendar. It should also appear in OrbitOne after the next sync.
For two-way synchronization with classic Outlook for Windows, use the free add-in Outlook CalDav Synchronizer. However, an iCal link added as an Internet calendar remains read-only.
Load Outlook CalDav Synchronizer Download, install the add-in and restart Outlook.
Open the tab in Outlook CalDav Synchronizer and click on Synchronization Profiles.
Click on +, choose Generic CalDAV/CardDAV and assign a profile name, for example “OrbitOne”.
Choose among Outlook folder the Outlook calendar folder to sync with OrbitOne.
Wear under DAV URL Enter the full OrbitOne CalDAV URL. The URL must end with a slash.
Enter your OrbitOne email address and CalDAV access key. Then click on Test or discover settings and select the calendar resource found.
Position as synchronization mode Outlook ↔ Server (Two-Way) on, save the profile and start with Synchronize now the first comparison.
Classic Outlook for Windows
The Synchronizer add-in is installed in the classic Outlook desktop application. If the tab does not appear after installation, check whether you have opened the new Outlook instead of the classic Outlook and whether the COM add-in is activated.
Check two-way sync
Create a test appointment in OrbitOne and synchronize the calendar client. The appointment must appear there.
Change the subject or time in the calendar client and sync again. The change must be visible in OrbitOne.
Then create a second appointment directly in the OrbitOne calendar in the calendar client and check it in OrbitOne Web.
Changes are only possible if approved Allow editing was created and you have write permissions for the workspace in question. Automatically generated reminders about expiration dates are processed on the associated doc, file or Vault entry, not directly in the calendar client.
Memories
Appointments can have in-app and email reminders. A reminder will only be sent to participants who are assigned to the appointment and who have activated the respective channel in their personal notification settings.
Operation
Search & Notifications
Find content across your client and decide for yourself which events OrbitOne informs you about.
Global search
The search only takes into account content for which you have read rights. Filter results by workspace and content type when a term appears in Notes, Docs, Tasks, Files, and other modules.
Typical triggers
You will be mentioned in a rich text.
A task will be assigned to you.
A watched assignment or grade receives a new post.
An activated appointment reminder is due.
A ticket assigned to you is created from an email.
Set channels
Open your profile settings and activate the desired channels. OrbitOne also respects this selection for tasks and comments; a deactivated email notification may not be bypassed by a module action.
Channel
Requirement
In-app
Active OrbitOne access
Browser
Permission for notifications in the browser
OrbitOne Drive
Logged in client and operating system release
Email
Verified email address and activated channel
Test notifications
Activate at least the desired channel in your profile.
Allow OrbitOne Web or Drive notifications in the operating system.
Have a second user assign you a test task or send you a mention.
Check the in-app center, system notifications and, if necessary, spam folders.
Operation
Administration & backups
Manage clients, workspaces, modules and data backups with clearly separated responsibilities.
Users, global settings, vault transfer, full backups
Assign users via email domain
Tenant administrators can be found at Client → Domains & Login the email domain and the automatic association switch. Only if the switch is active will OrbitOne consider the tenant for new registrations with this domain.
Wear the business email domain without it @ one, for example beispiel.de.
Activate Automatically assign new verified accounts to this email domain.
Save the domain and login settings.
A new user registers with a suitable address and receives a six-digit one-time code by email.
Only after successful code confirmation will OrbitOne create the account and assign it as a member.
Verification is always required
The code is valid for ten minutes and is only saved hashed. After five incorrect entries, the attempt is blocked. The normal OrbitOne password does not replace this check.
Only use controlled domains
Don't enable autoassignment for public mail providers or domains that external people also use. Disabling stops new automatic associations; Existing memberships remain unchanged.
Configure tasks
Administrators can define types, statuses, priorities and other parameters. For each status it is determined whether tasks appear in active or inactive lists. Priorities can be highlighted with a subtle row background color.
Security areas
area
Authorization
Content
Entire client
Client admin
Users, workspaces and selectable module data
Workspace
Admin or Owner
One or more modules, including selected repos
Private data
Per user for themselves
Your own notes, vaults, appointments and other private content
Create backup
Open the advanced backup features of the appropriate settings layer.
Select the area and content granularly, for example only notes or individual repositories.
Check the estimated storage requirements. The backup counts towards the quota while it is retained.
Start the background job and download the package when finished.
By default, created backups are kept for a limited time. Vault content remains encrypted. Password hashes, sessions, API tokens, and calendar share tokens are not exported.
Restore
When restoring, choose again granularly which components will be adopted. Before starting, check the target assignment and the conflict behavior, for example merging or skipping an existing entry.
Check before restoring
A restore can create many linked records. Run large restores in an appropriate test workspace first.
Operation
Troubleshooting
The most common causes can be narrowed down with a few targeted tests.
Check first
Reload the page completely once.
Check whether the correct client and workspace are active.
Check your rights for the affected module.
Test whether the problem also occurs in a private browser window.
Note the time, action, affected entry and visible error message.
401, 403 and 500
Code
Meaning
Next step
401
Login or token invalid
Register again or test the client connection.
403
Right is missing
Have workspace and module authorization checked.
500
Server error
Report time and request to support; Do not start the same upload multiple times.
Upload stops
Check file size, network and free tenant storage. For screenshots in rich text, wait for the visible upload confirmation before saving the entry. If an error occurs, remove the failed attachment and restart only this upload.
Drive doesn't sync
Open History and Settings, check login and local paths, and run the version checker. A local repo folder may be removed without risk to the online version. For repeated transfers of the same file, the file name, timestamp and last history lines help support.
Vault add-on says “Please log in first”
Remove an accidental trailing path from the OrbitOne address; use the client base address.
Create a new personal token and paste it without spaces.
Click on Test connection.
Then check whether all clients and their personal vaults are loaded.
iCal or CalDAV does not work
Check whether you really do CalDAV URL and don't use the read-only iCal URL.
Use your OrbitOne email address and the CalDAV access key; a passkey, OTP or API token is not a CalDAV password.
Copy the URL in its entirety including the final one /.
For write access, check the option Allow editing and your workspace writing permissions.
Remove a permanently incorrect account or synchronization profile and set it up again after revoking and recreating the sharing.
Contact support
Send a short description, time, client, workspace and the exact error message.